I became a father on 22-Apr-2014. As per the prevailing superstitions in India, one is not supposed to shop for a cradle till the baby is born (Nobody mentioned anything about making one 🙂 ). I made part of the hammock ready before the d-day. Got rest of the act together in a couple more days. My princess loves it. Cumulative effort including this documentation was about 6hrs (The 6hrs don’t come easy as babies keep everyone busy all the time)
First find a suitable place. Make sure the hook is strong enough and well supported. Hang S-links from the hook so that regular links can be then added.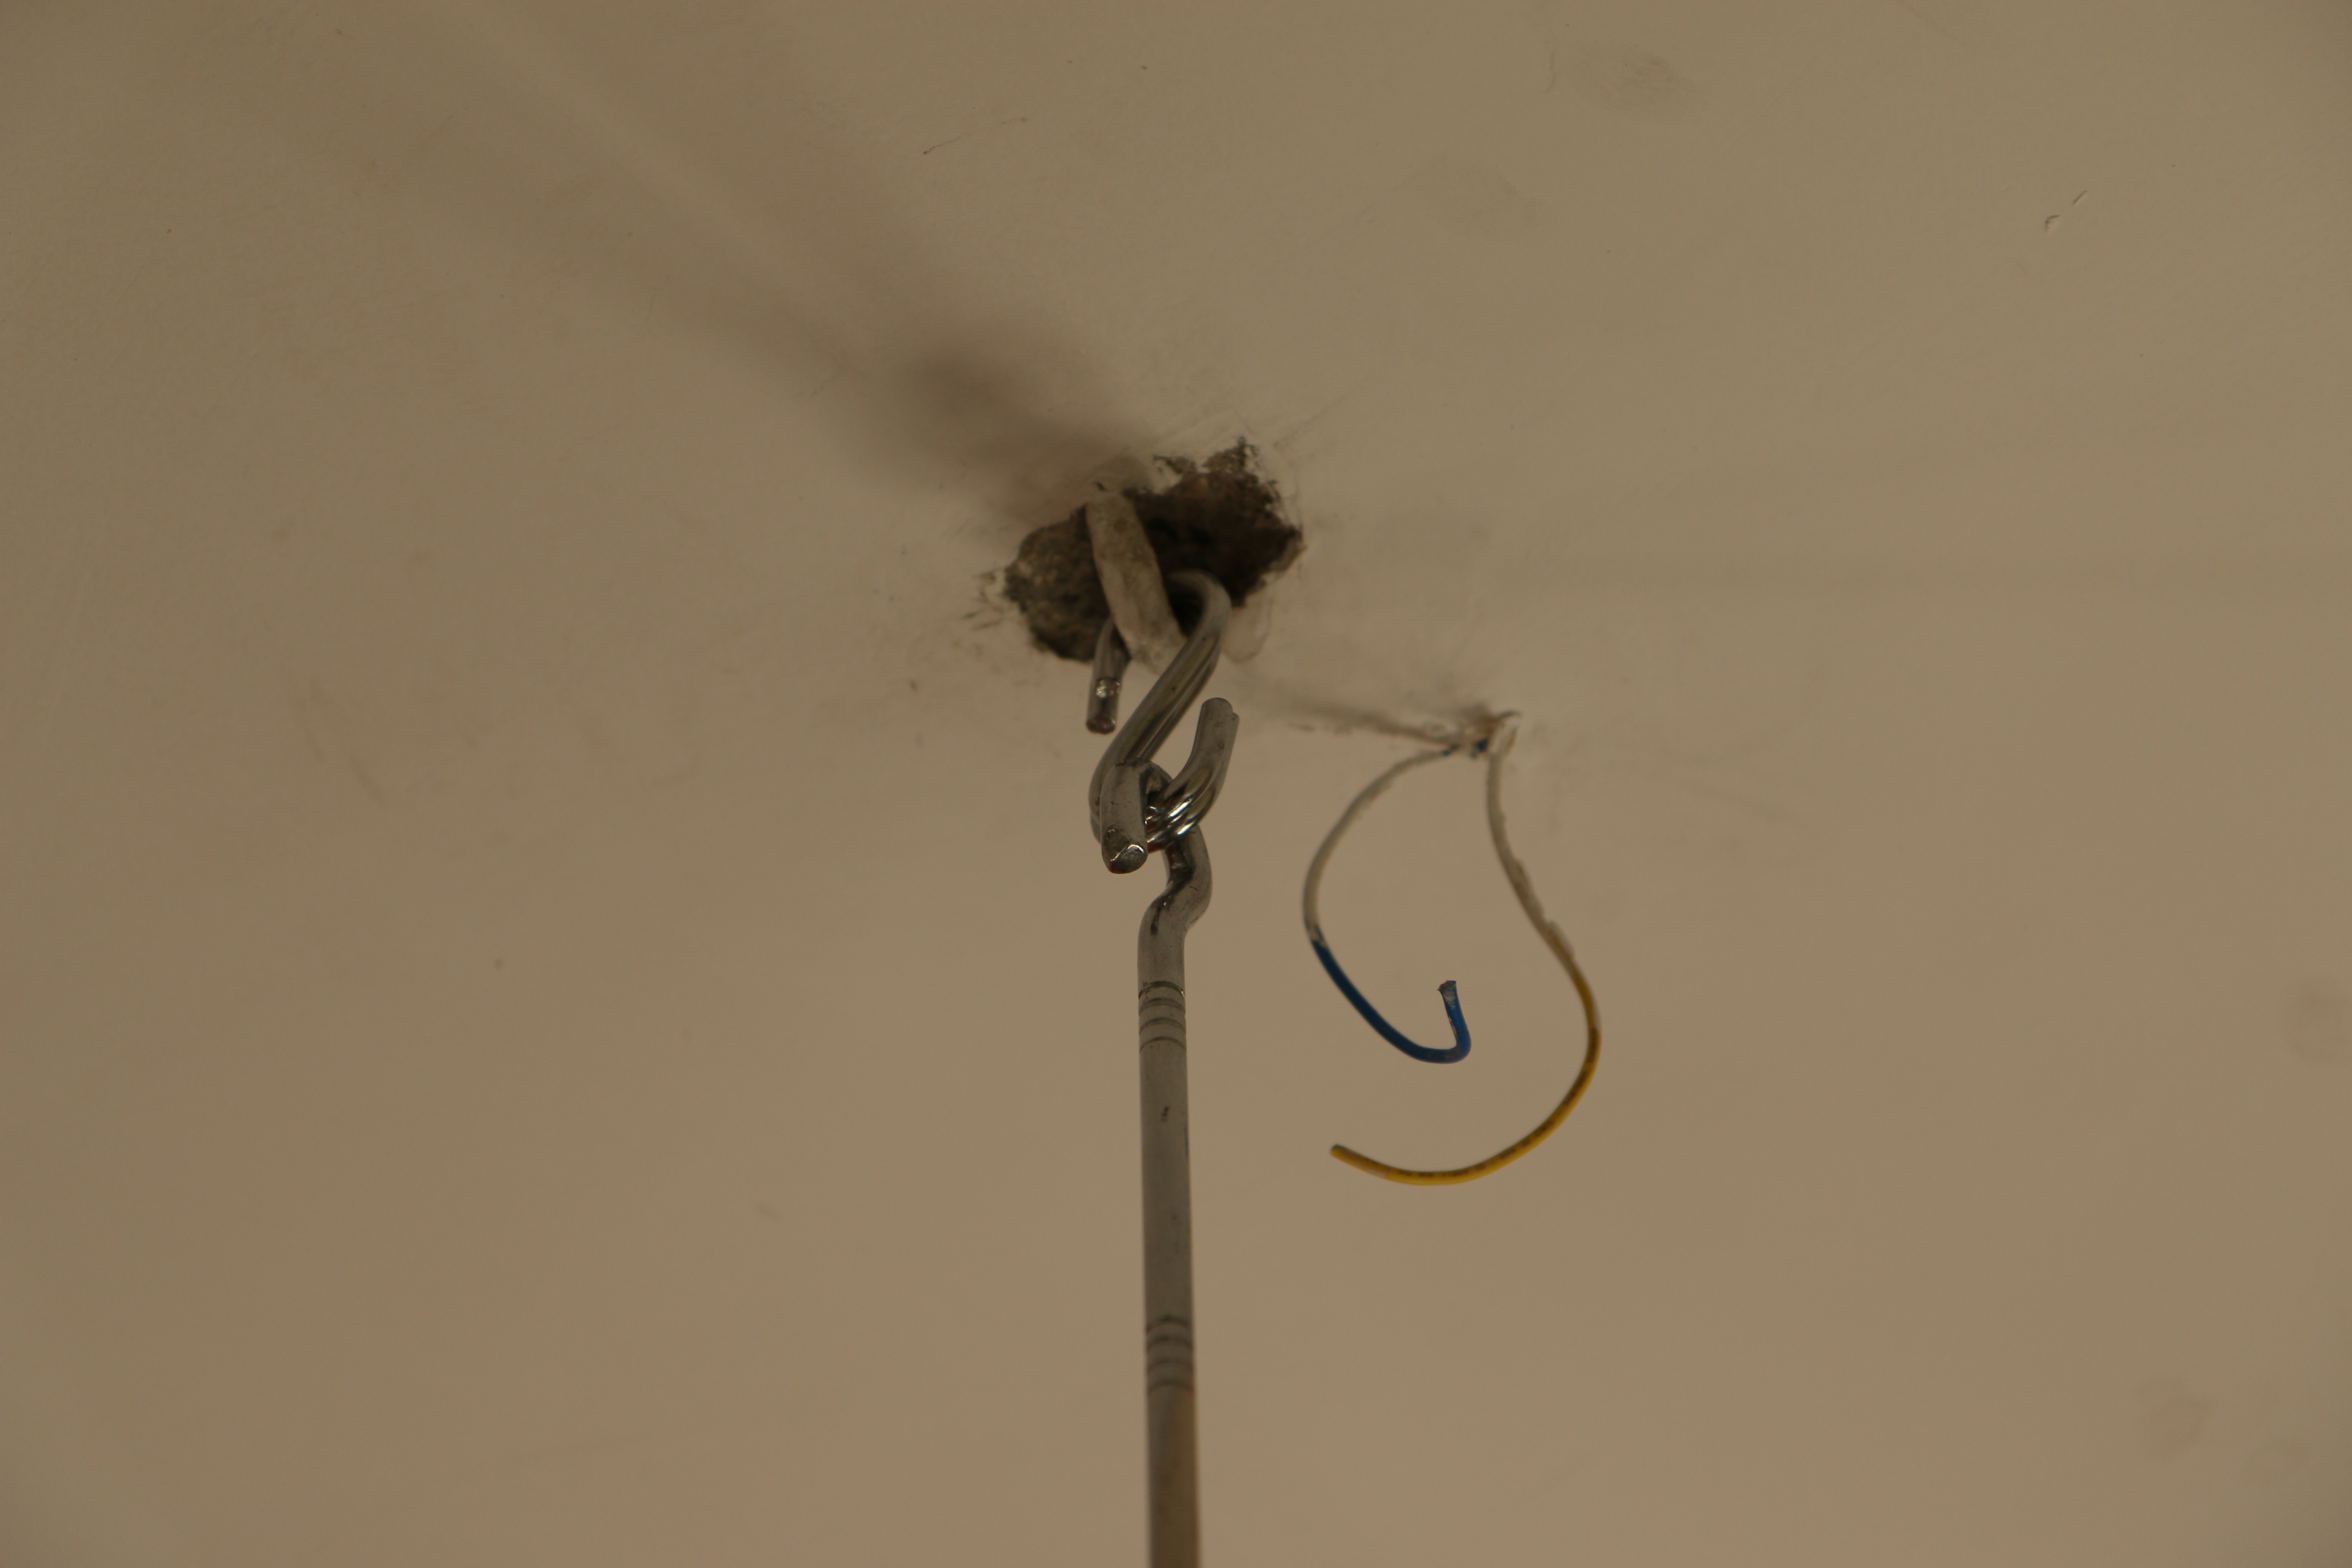
Secure the S-links. 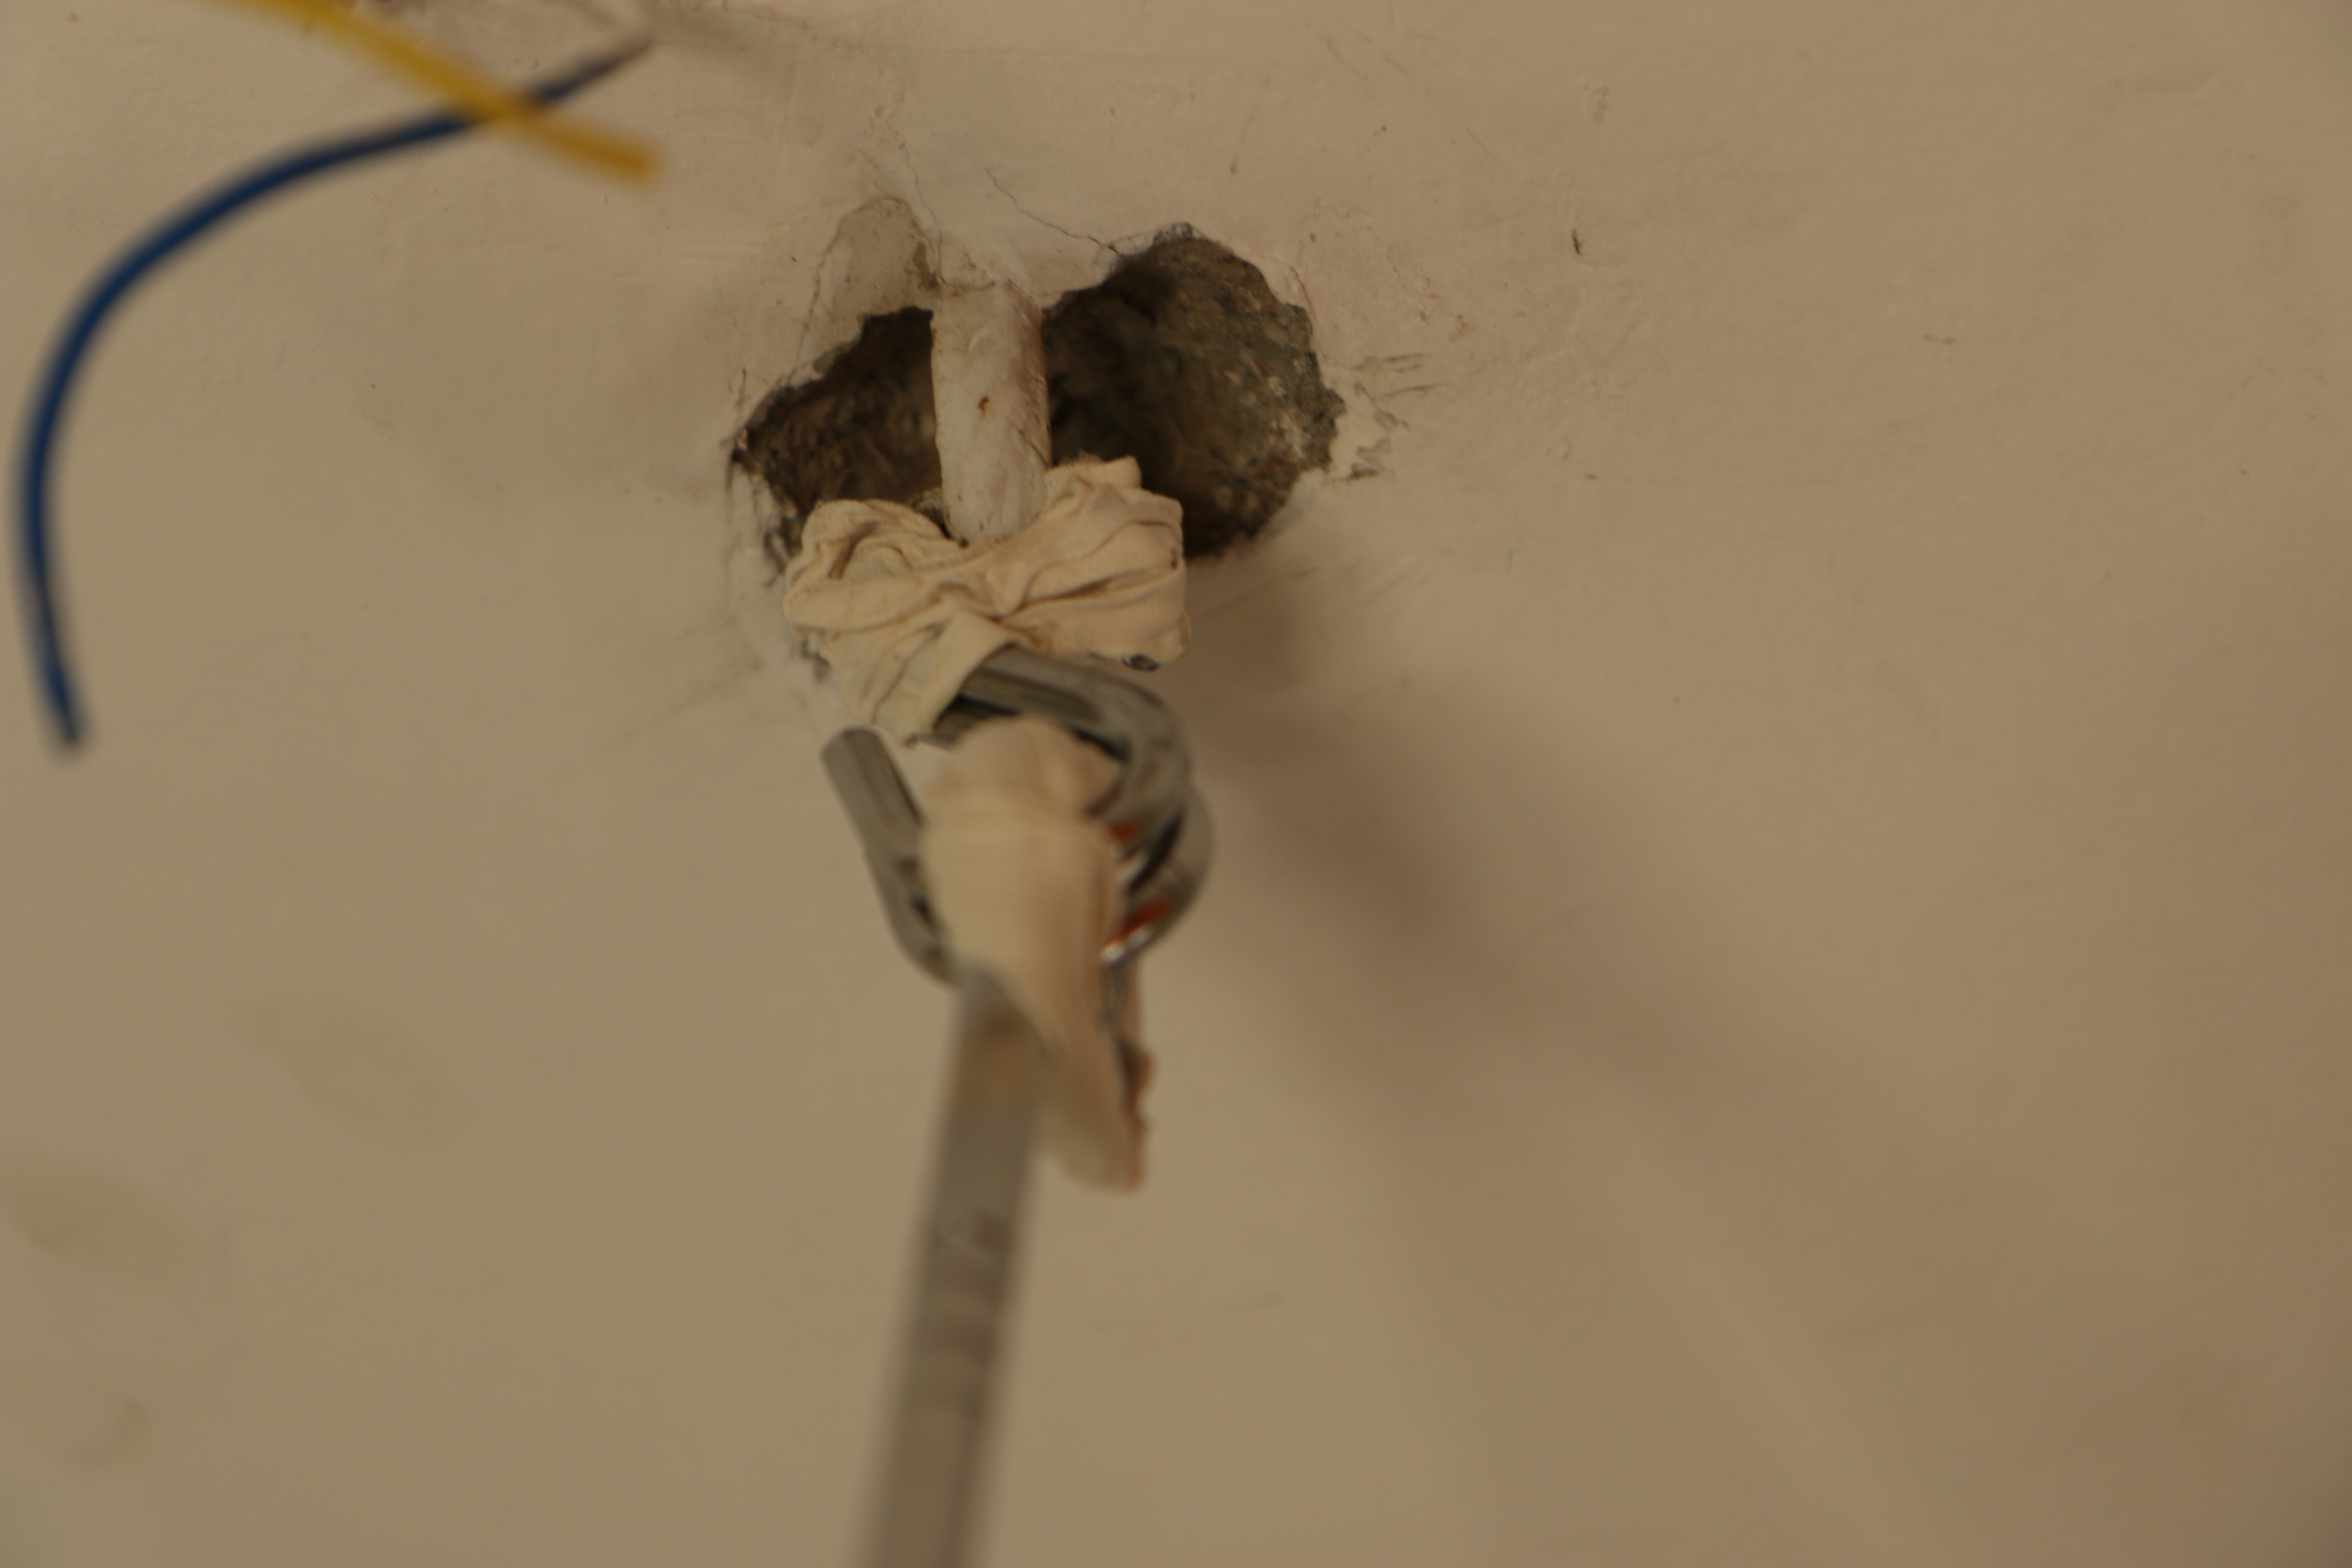
Add as many links as necessary to get the right length. If necessary, add a ring at the end of the links to connect to the springs.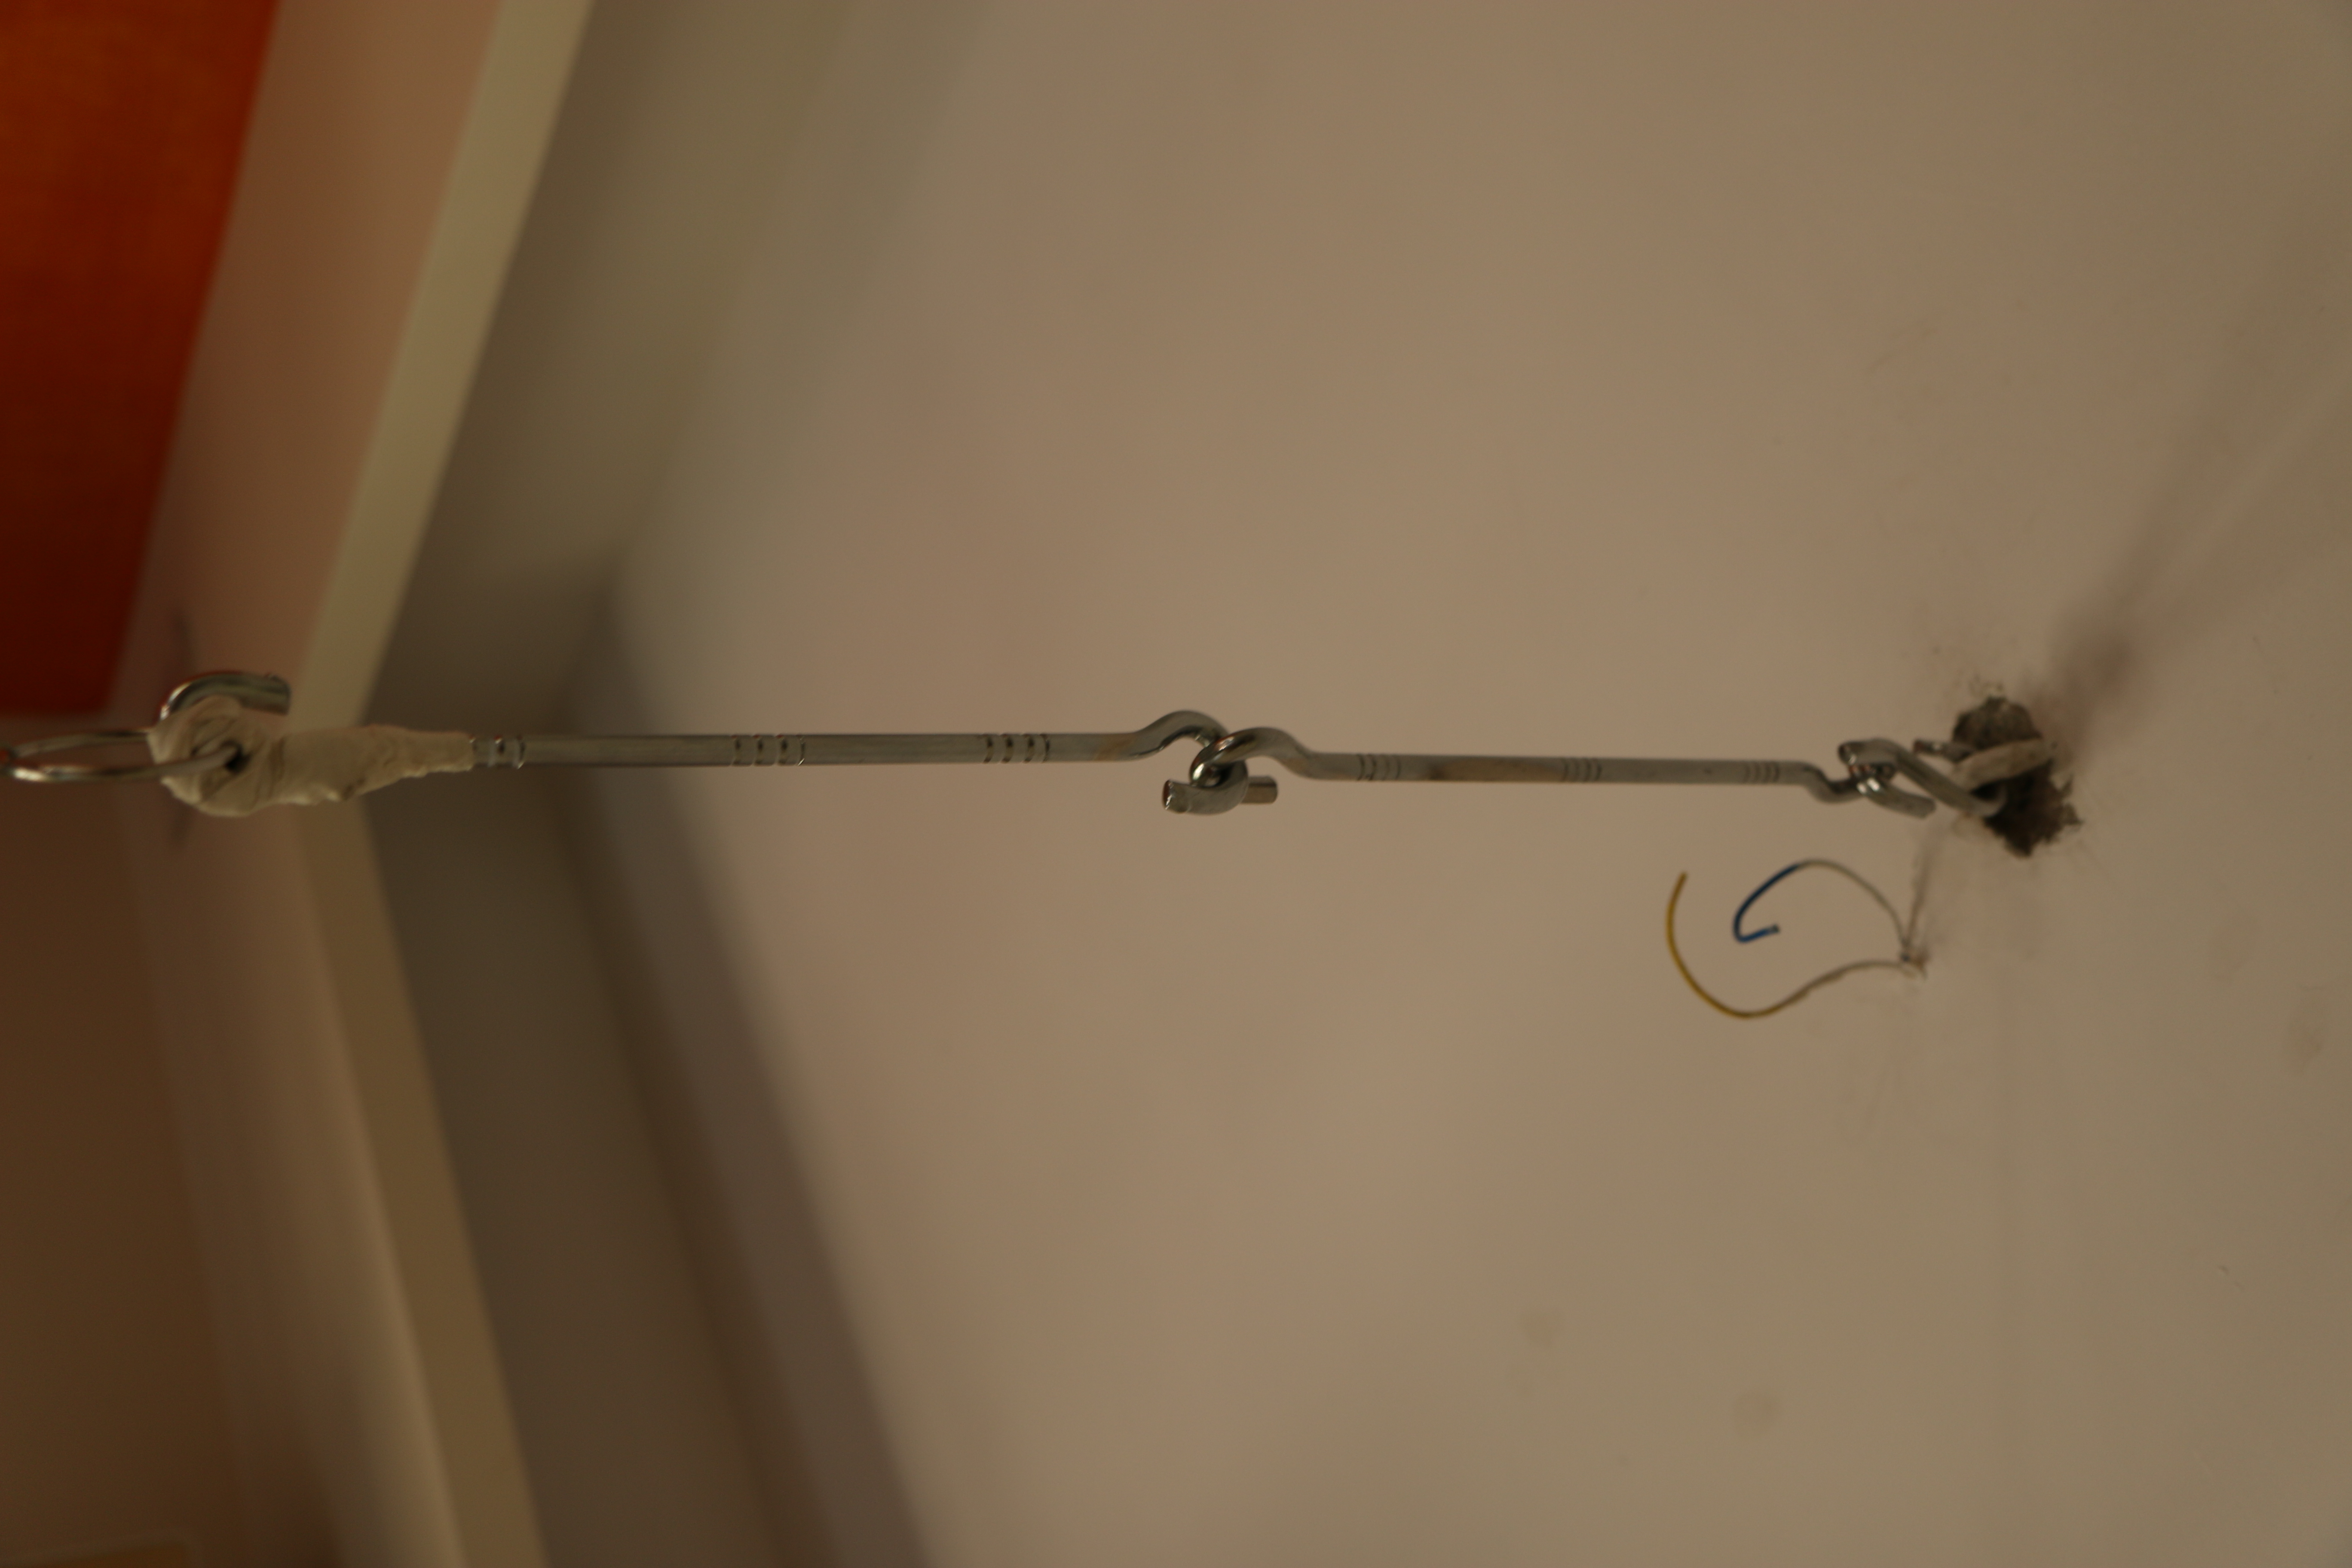
Add springs. Choice of the springs is the most important part of the hammock. The effective spring constant has to be such that the assembly stretches neither too less nor too much. A good rule of thumb – A stretch of 15 cm with about 5 kgs of load gives decent results (Natural frequency of about 2Hz with a 3Kg newborn which will drop down to about 1.4Hz in 4 months when the baby will be about twice the birth weight). Pune being an auto-hub, made my life easy. I got these automobile springs within 10 minutes of search.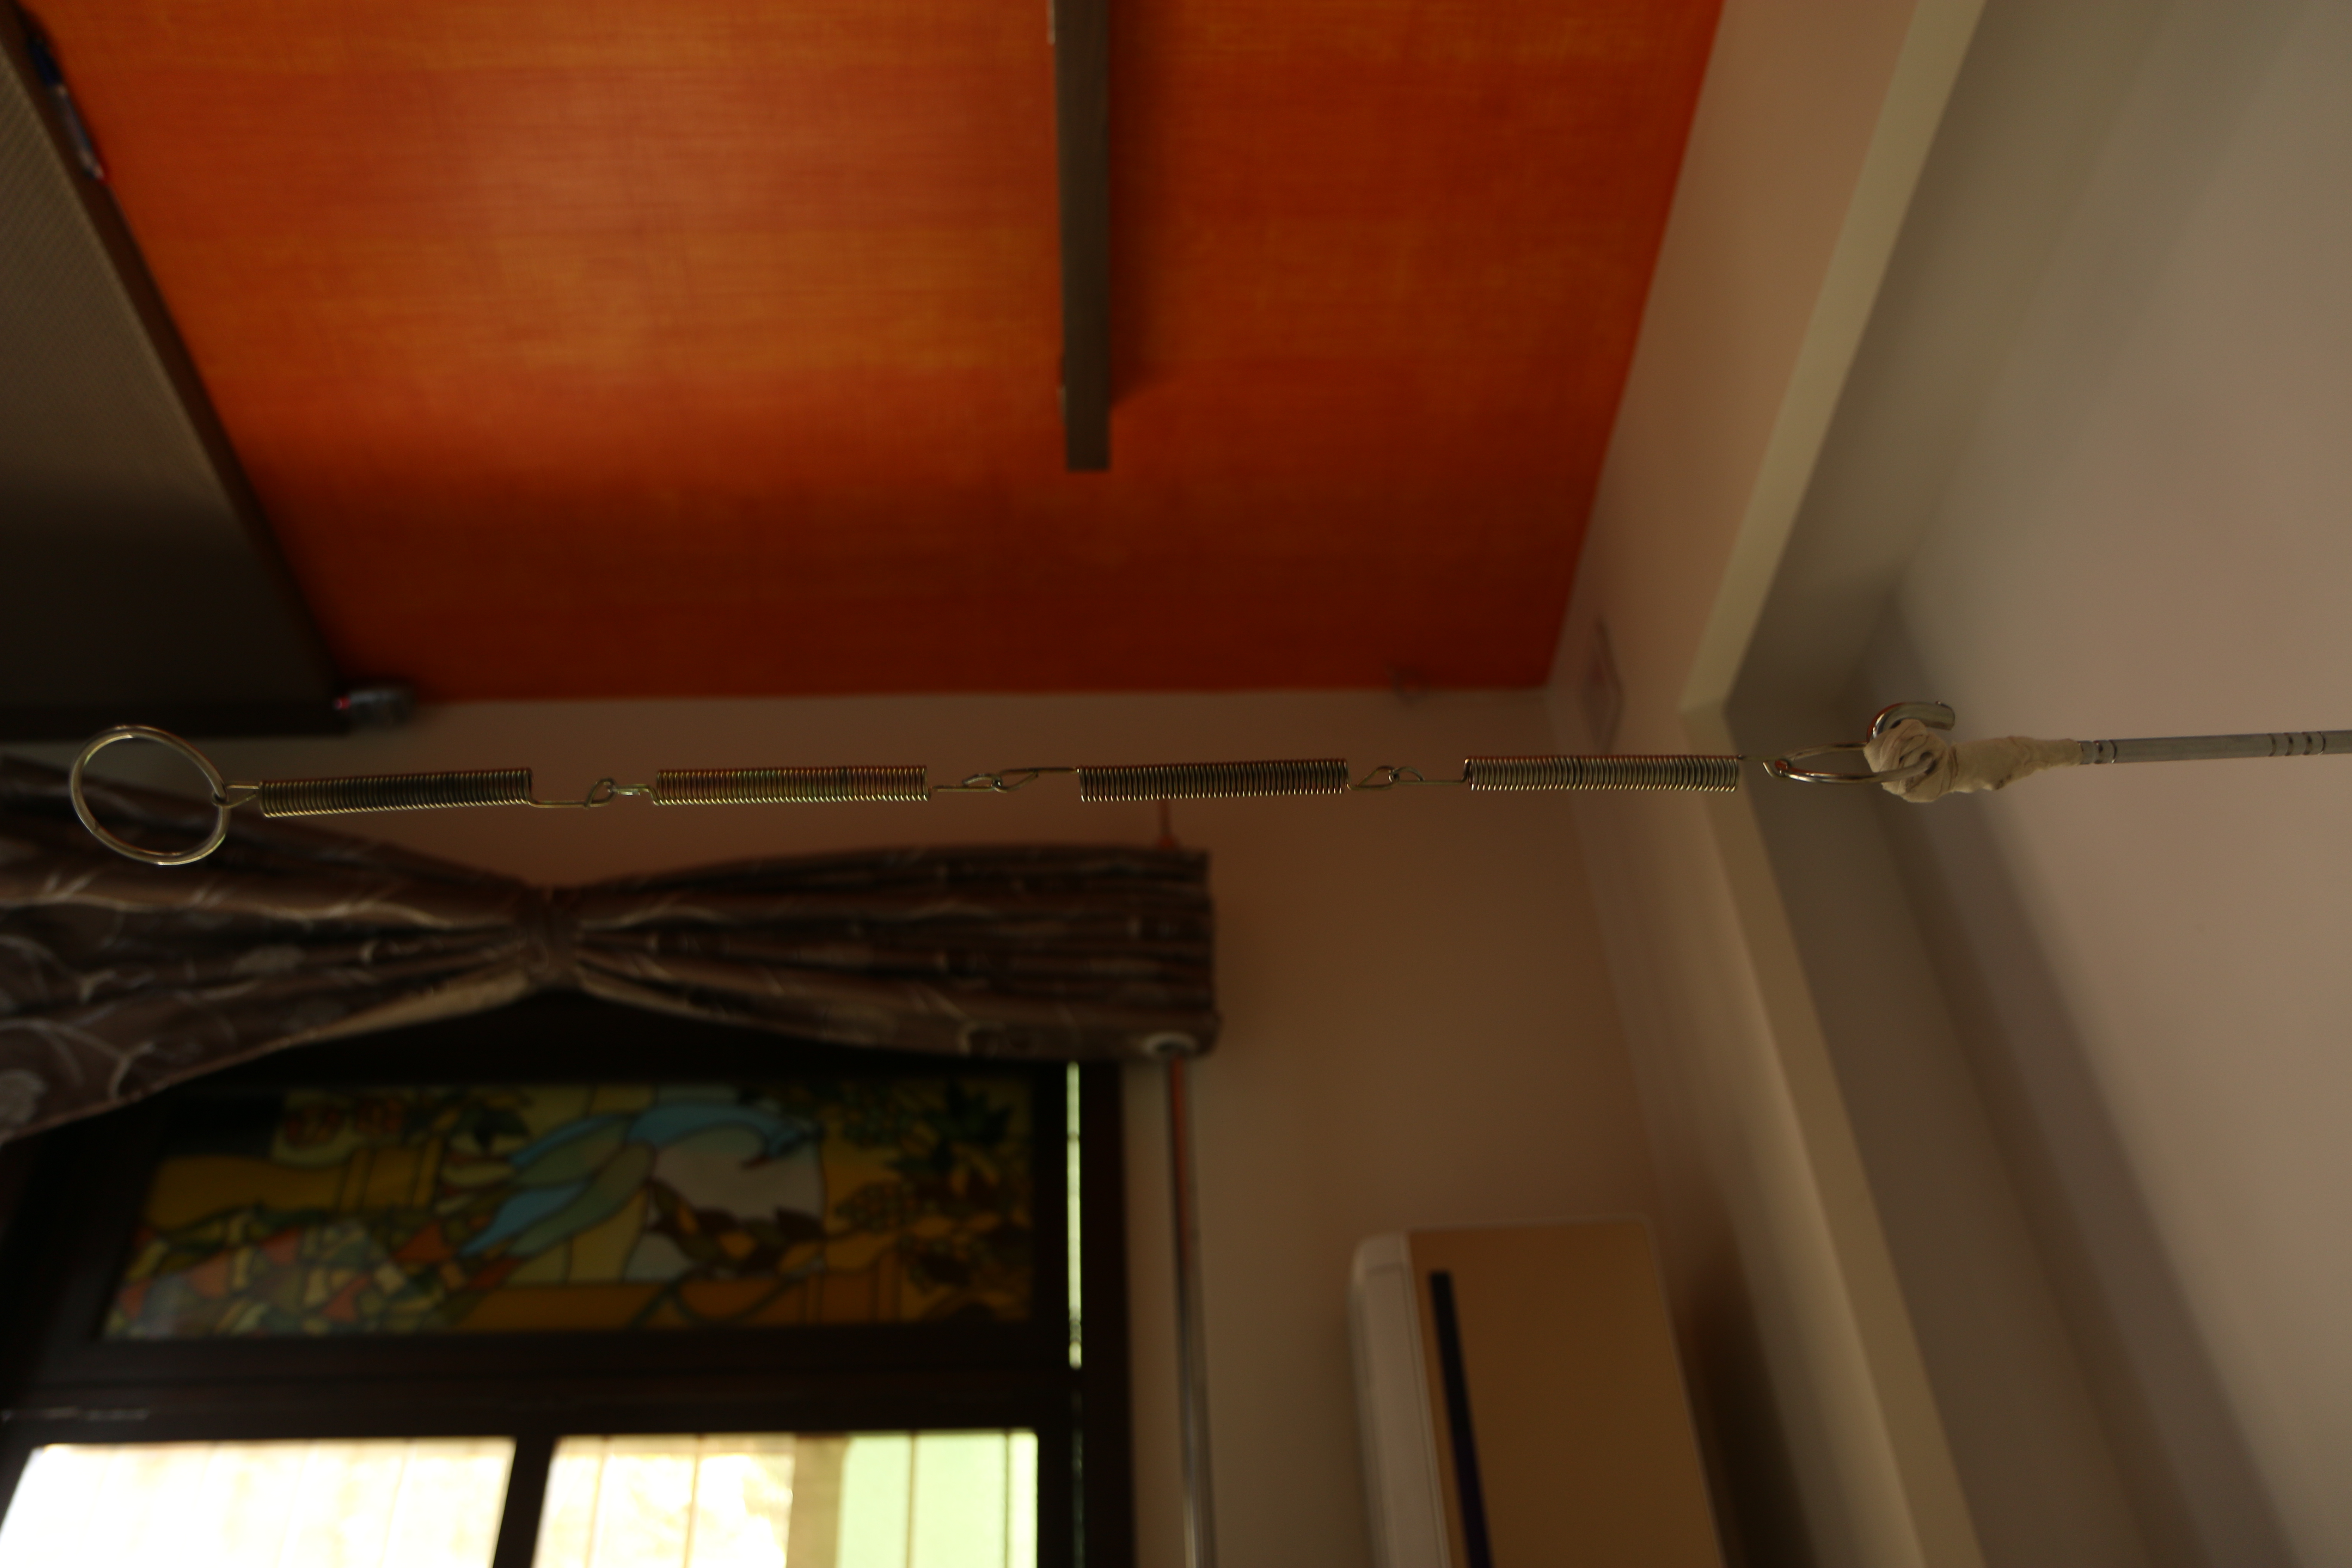
Make sure the springs are secured properly.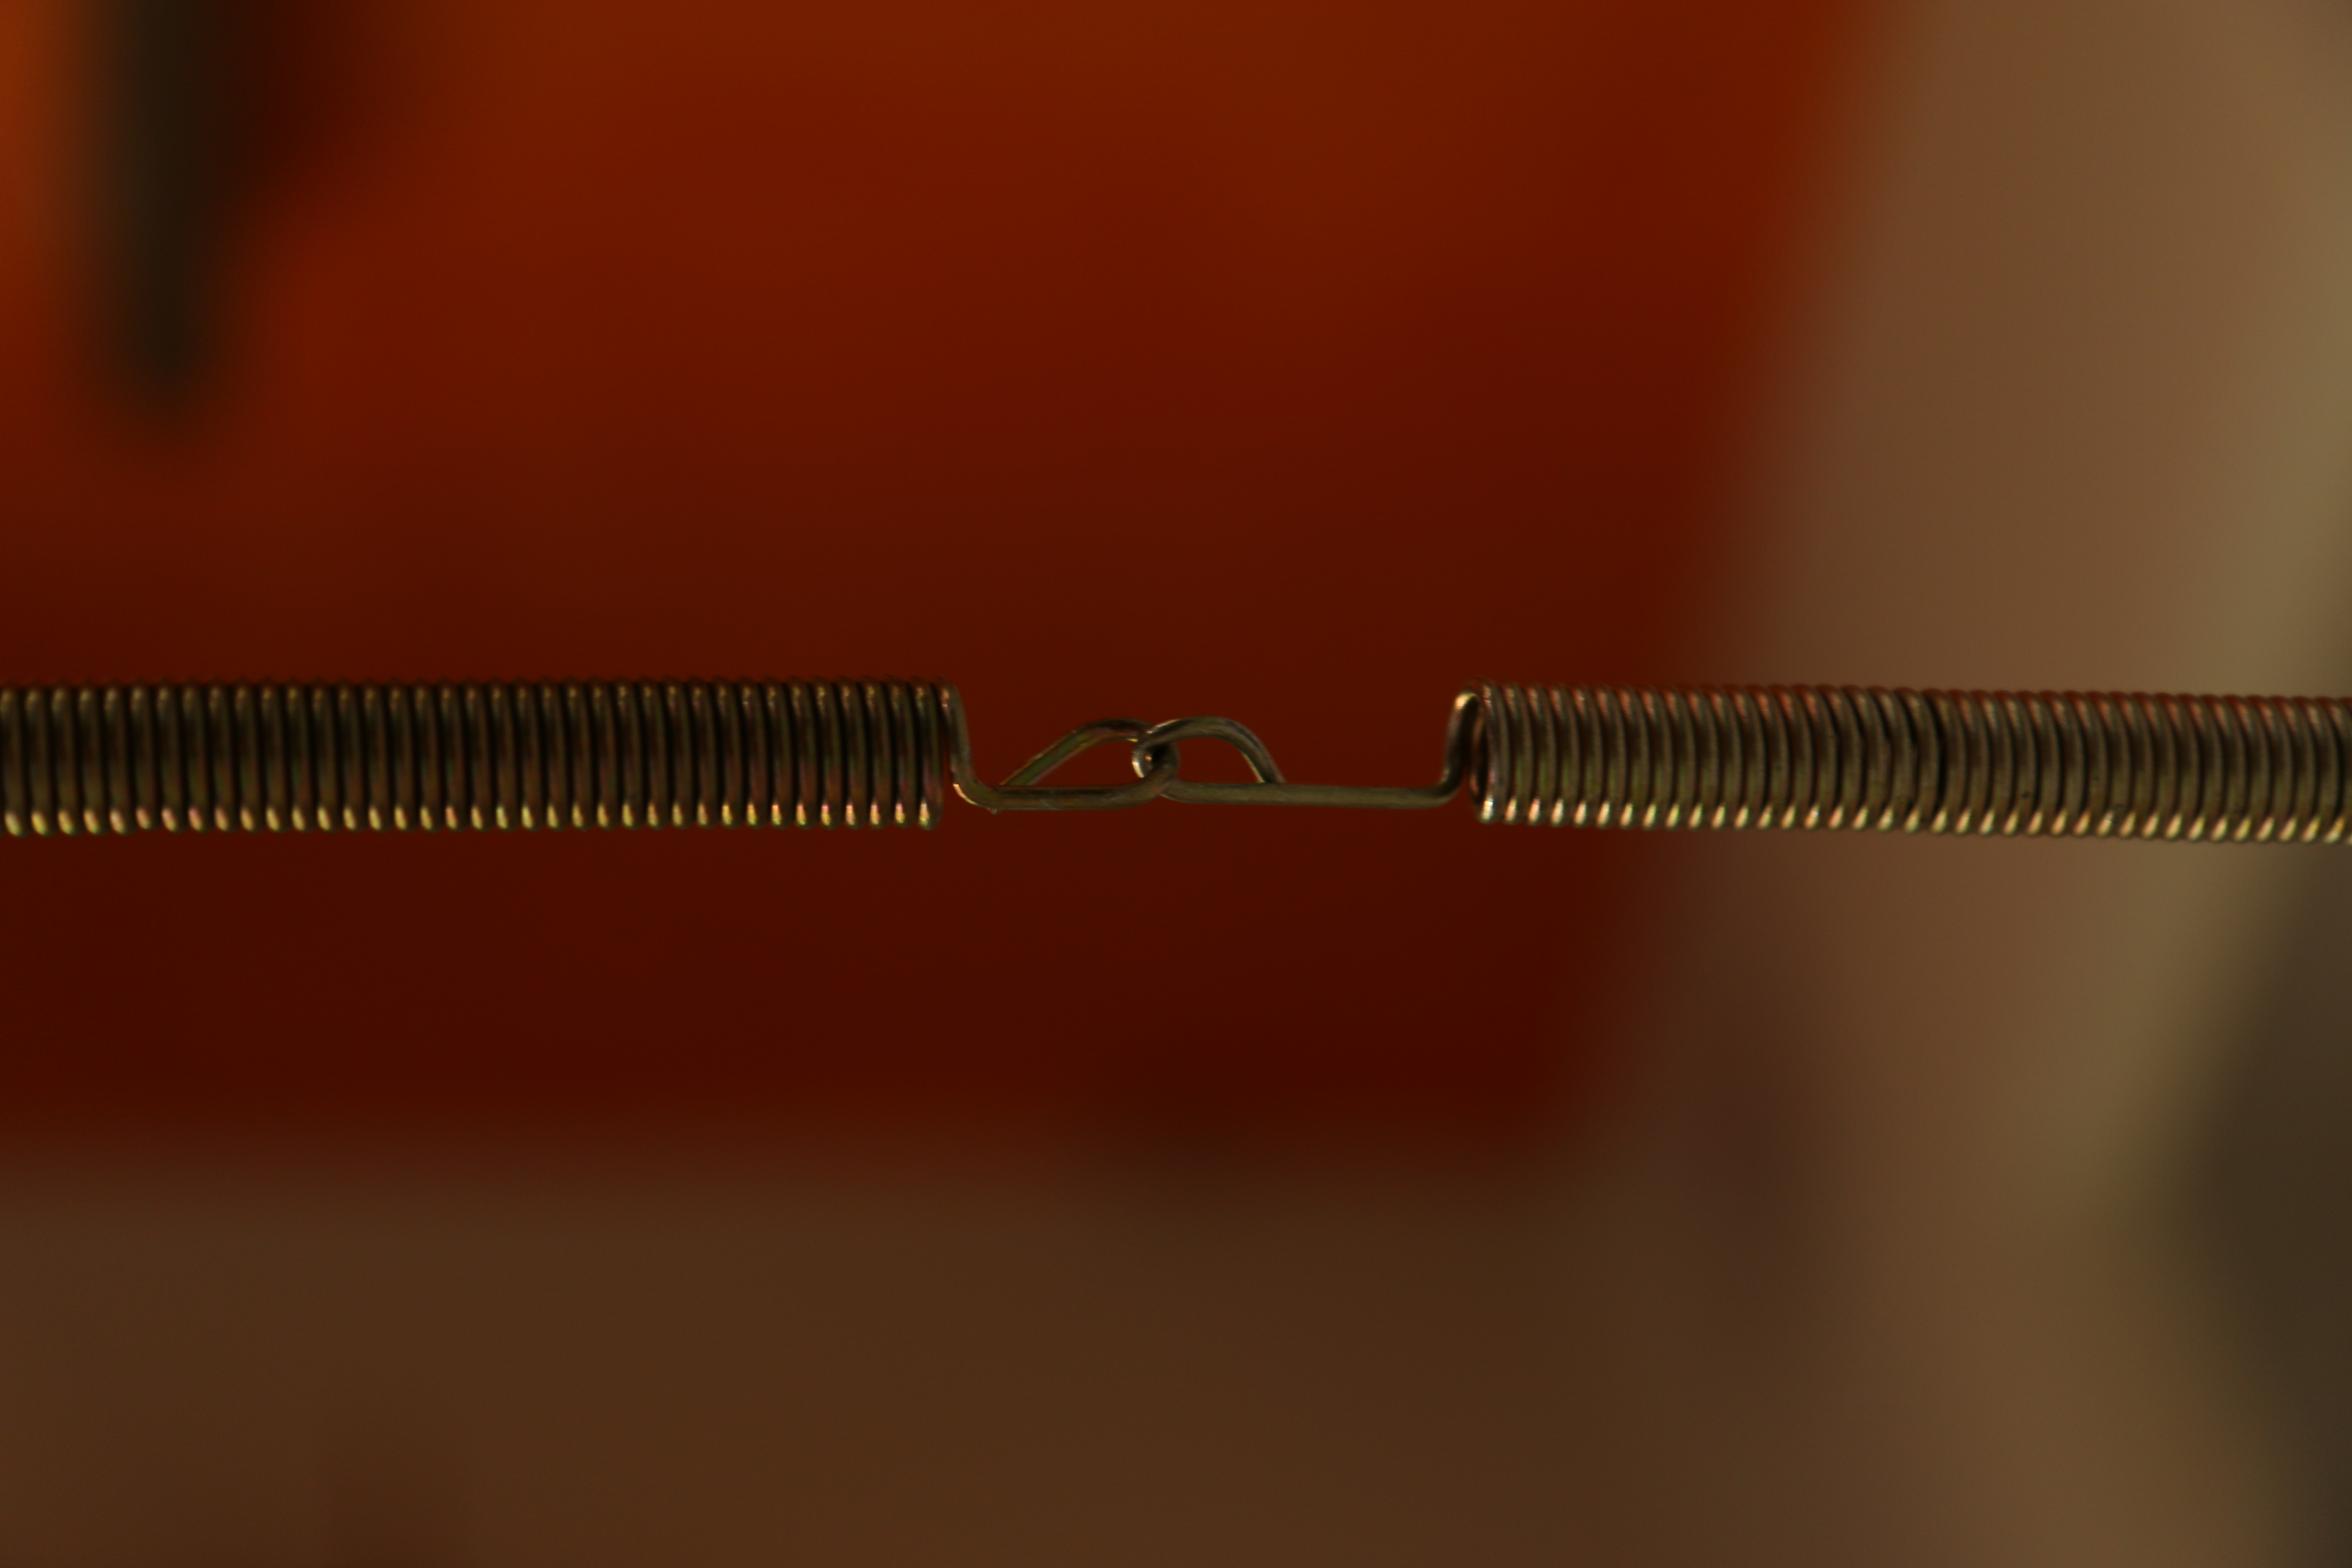
You may want to add one more ring at the end to connect to the hammock hanger.
Since it concerns babies, it is better to put in some safety measures. The springs are the weakest link in the design. To be prepared for contingency, additional flex cables can be used to connect the top and bottom ring. The flex cable length should be such that there is no tension in the cable under normal circumstances, but when the springs fail, the cables should hold. 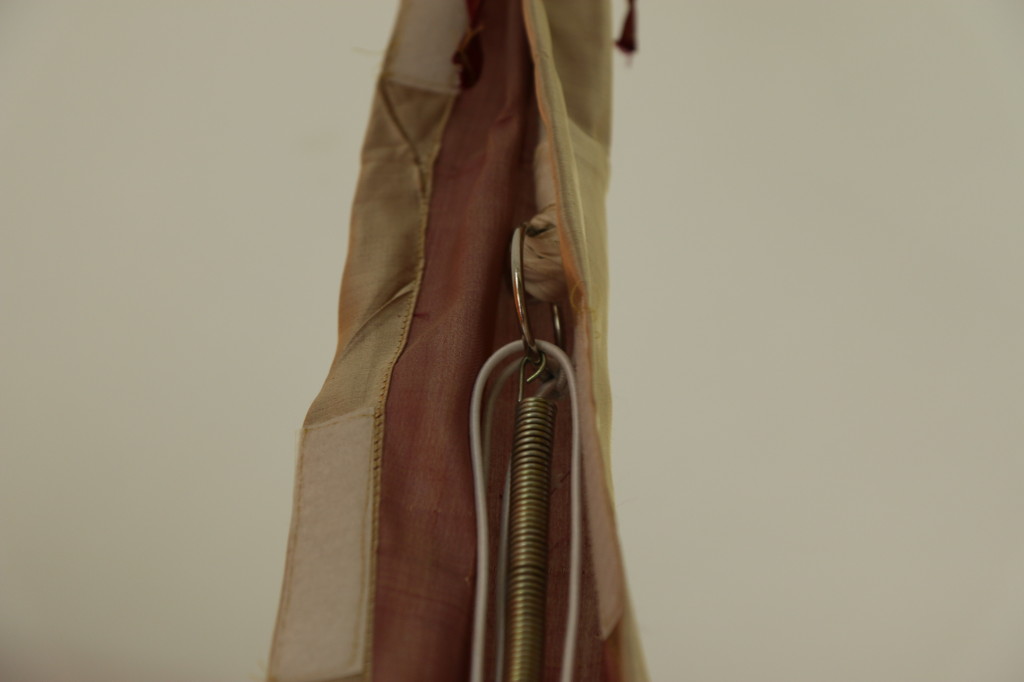
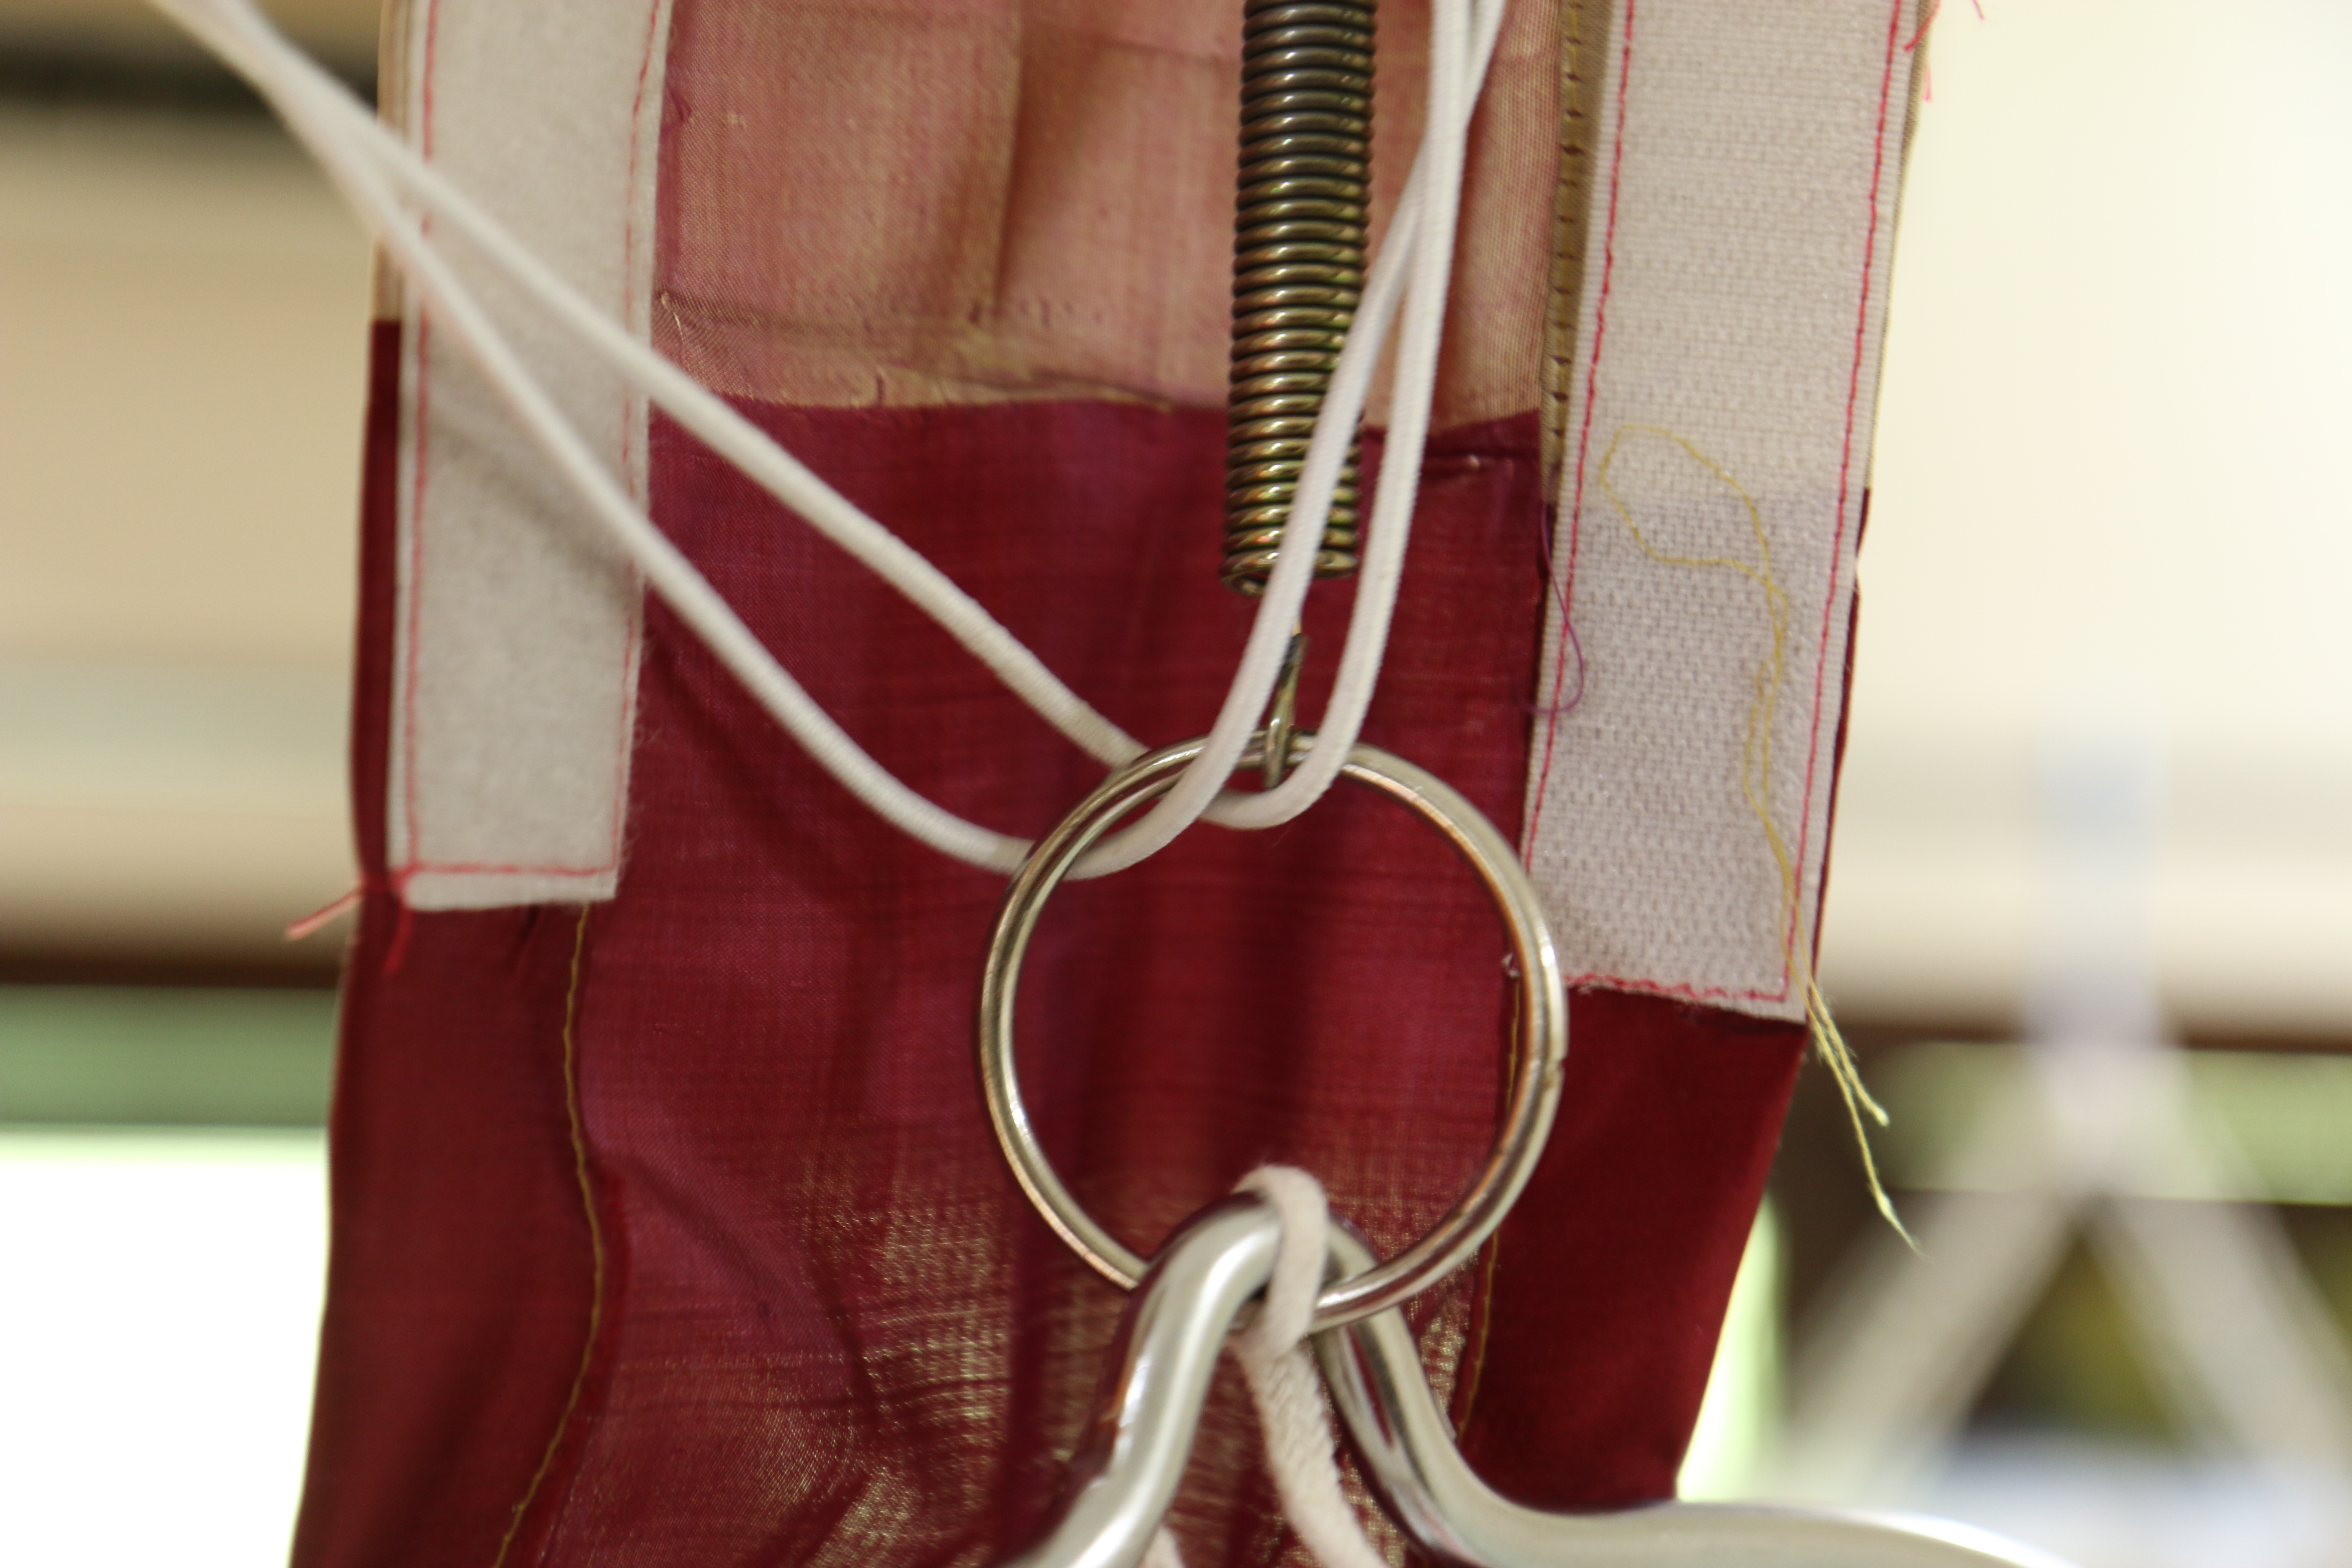
Find some hanger like component to hold the hammock. I found this nice hanger shaped steel rod. Use some thread to secure the hanger to the ring.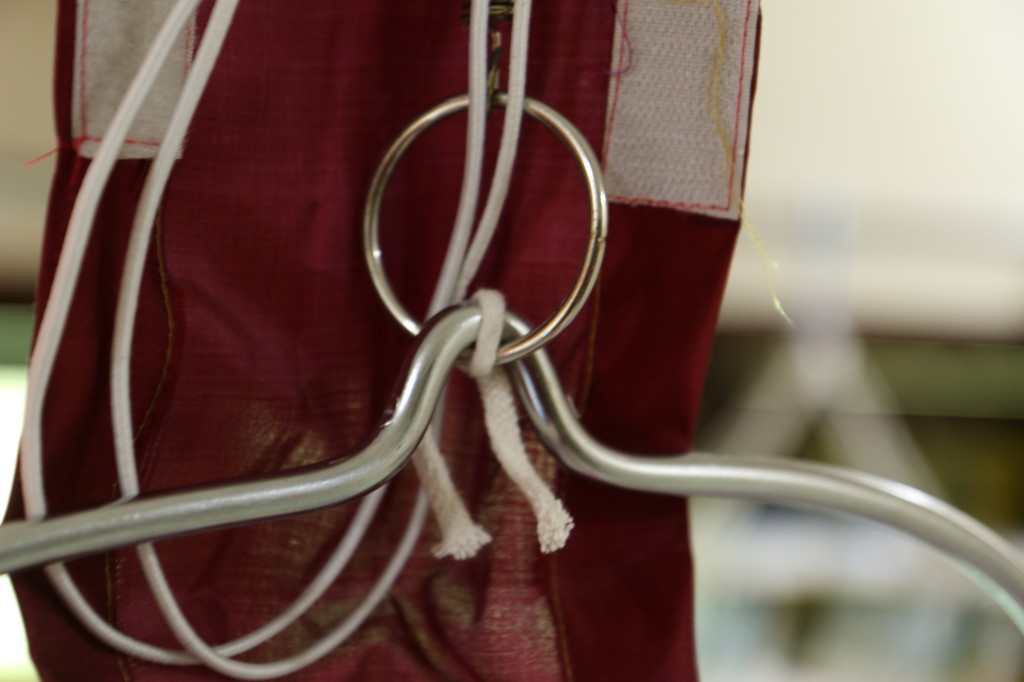

Use a nice cloth to cover up the not so nice looking mechanics. It is important to uncover the cloth and inspect the whole system atleast once in a week.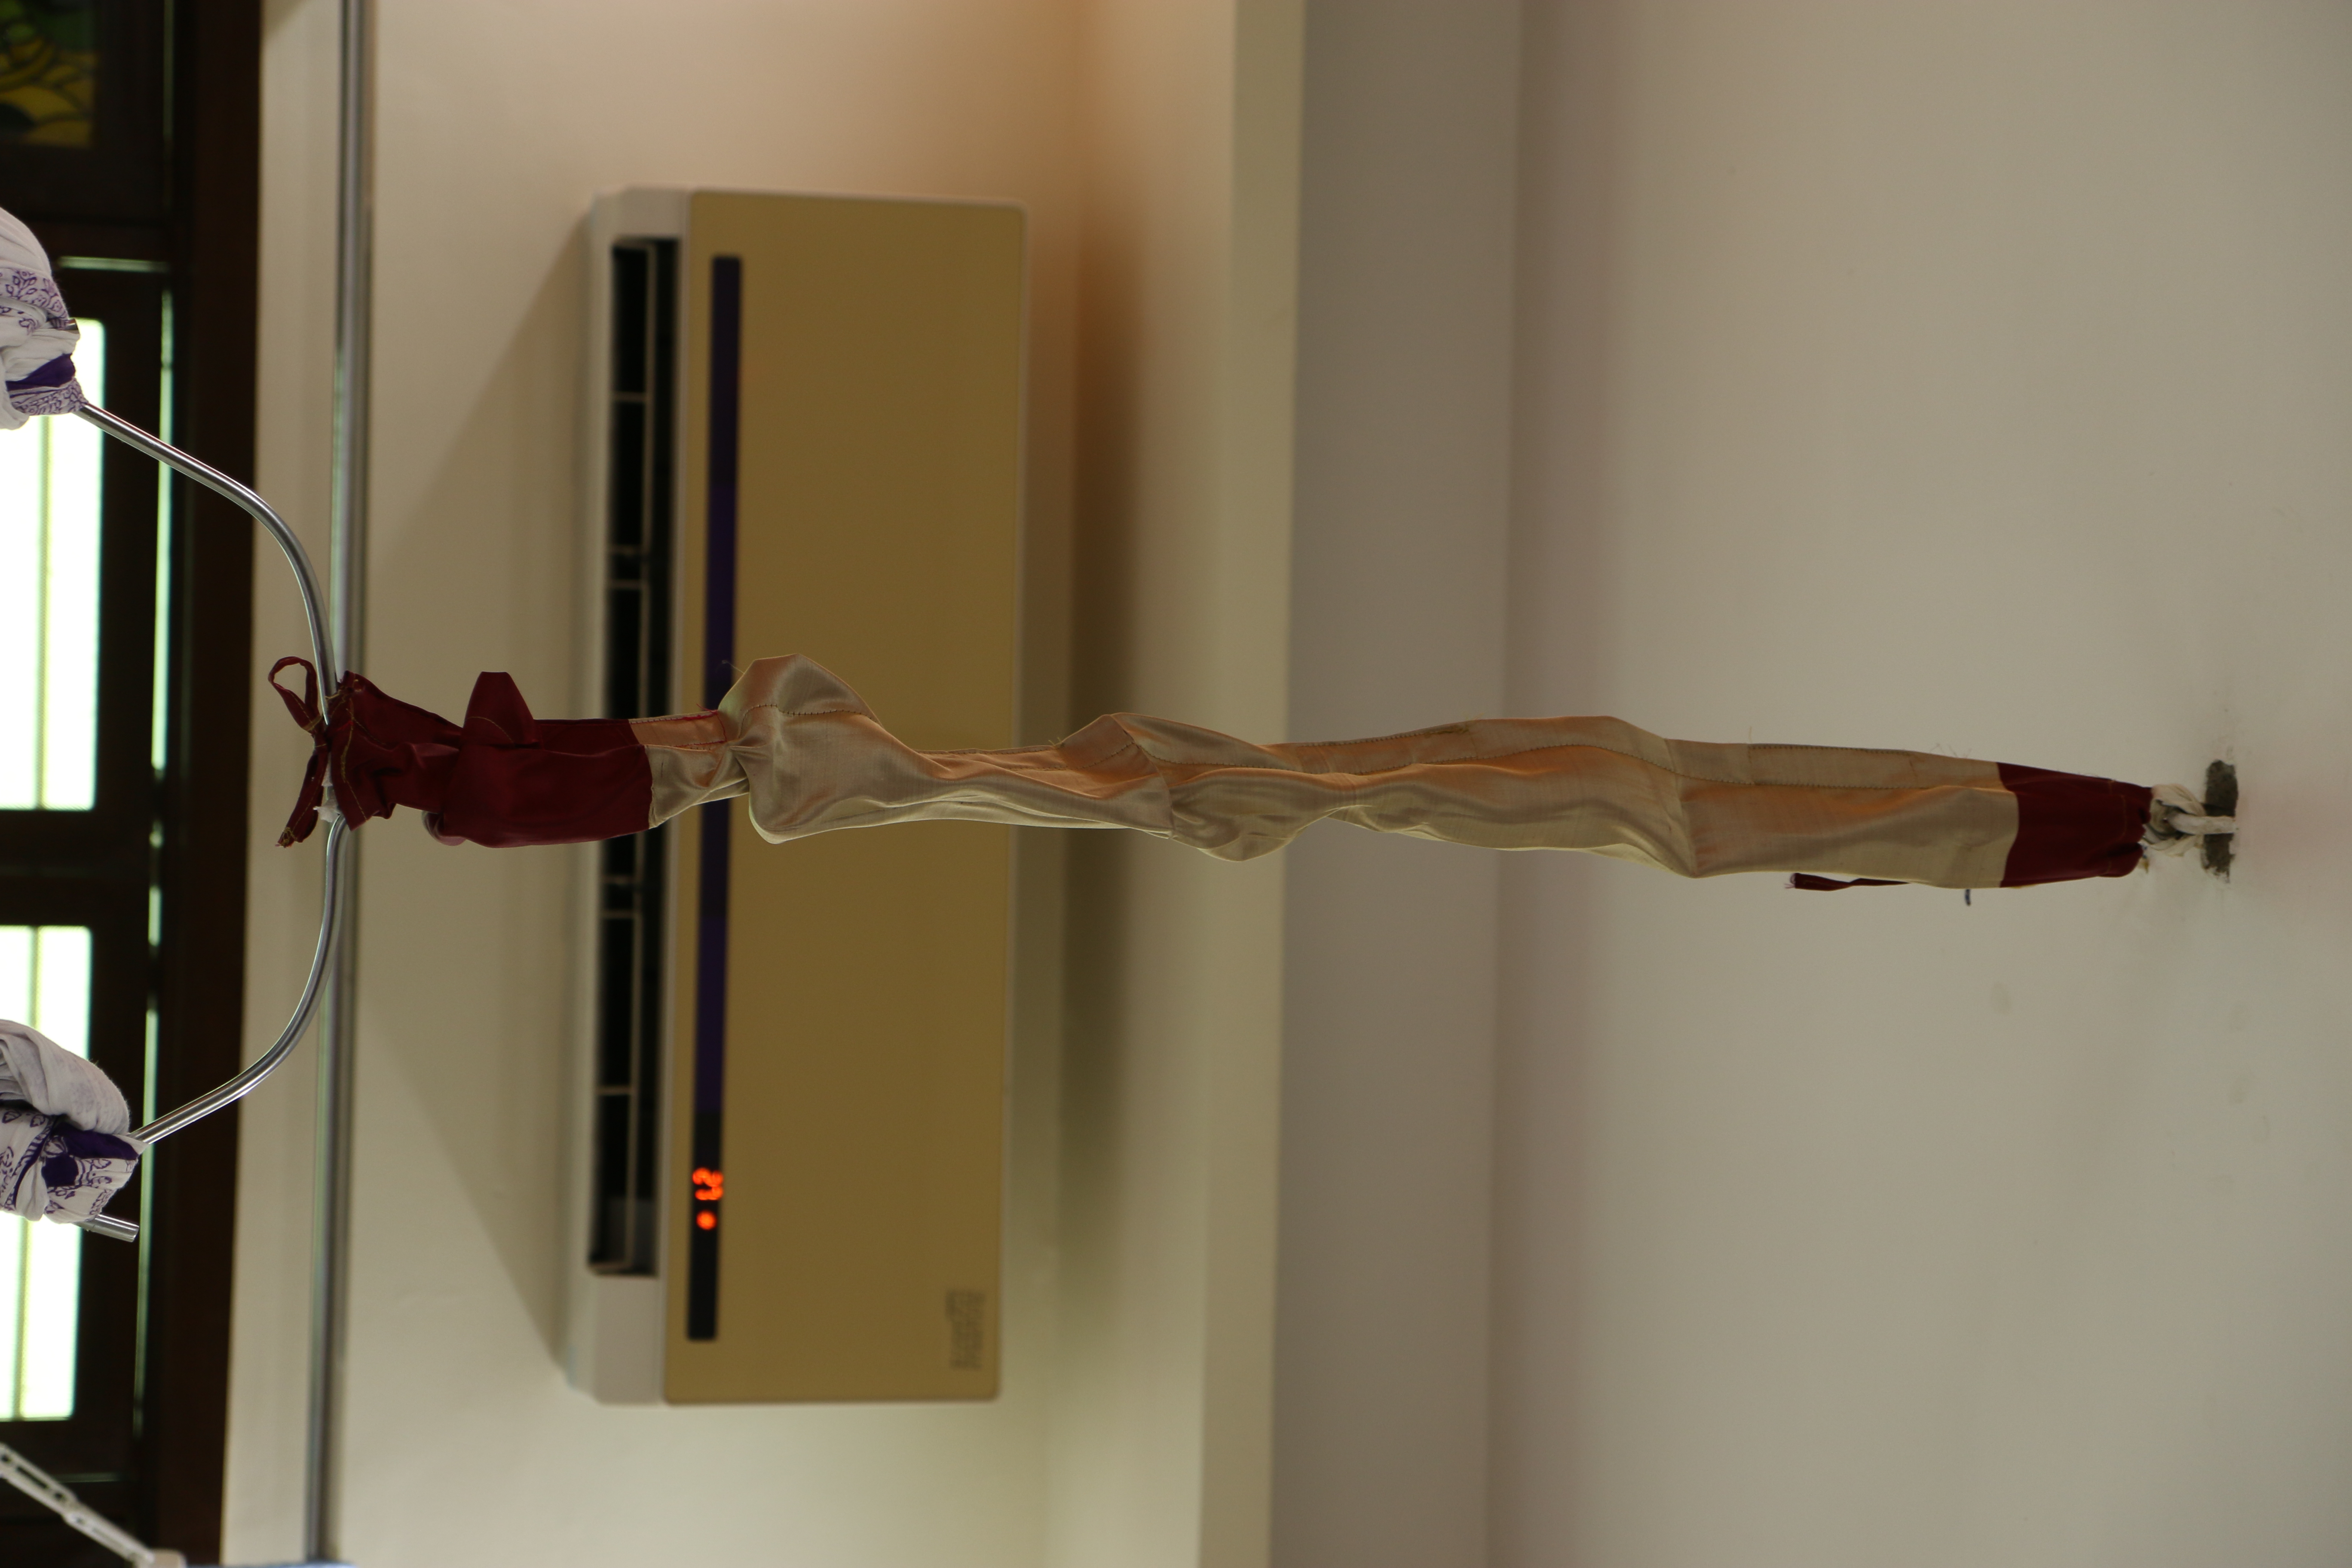
Tie the hammock securely. I used an old Saree. Old, used cotton Sarees are specially soft.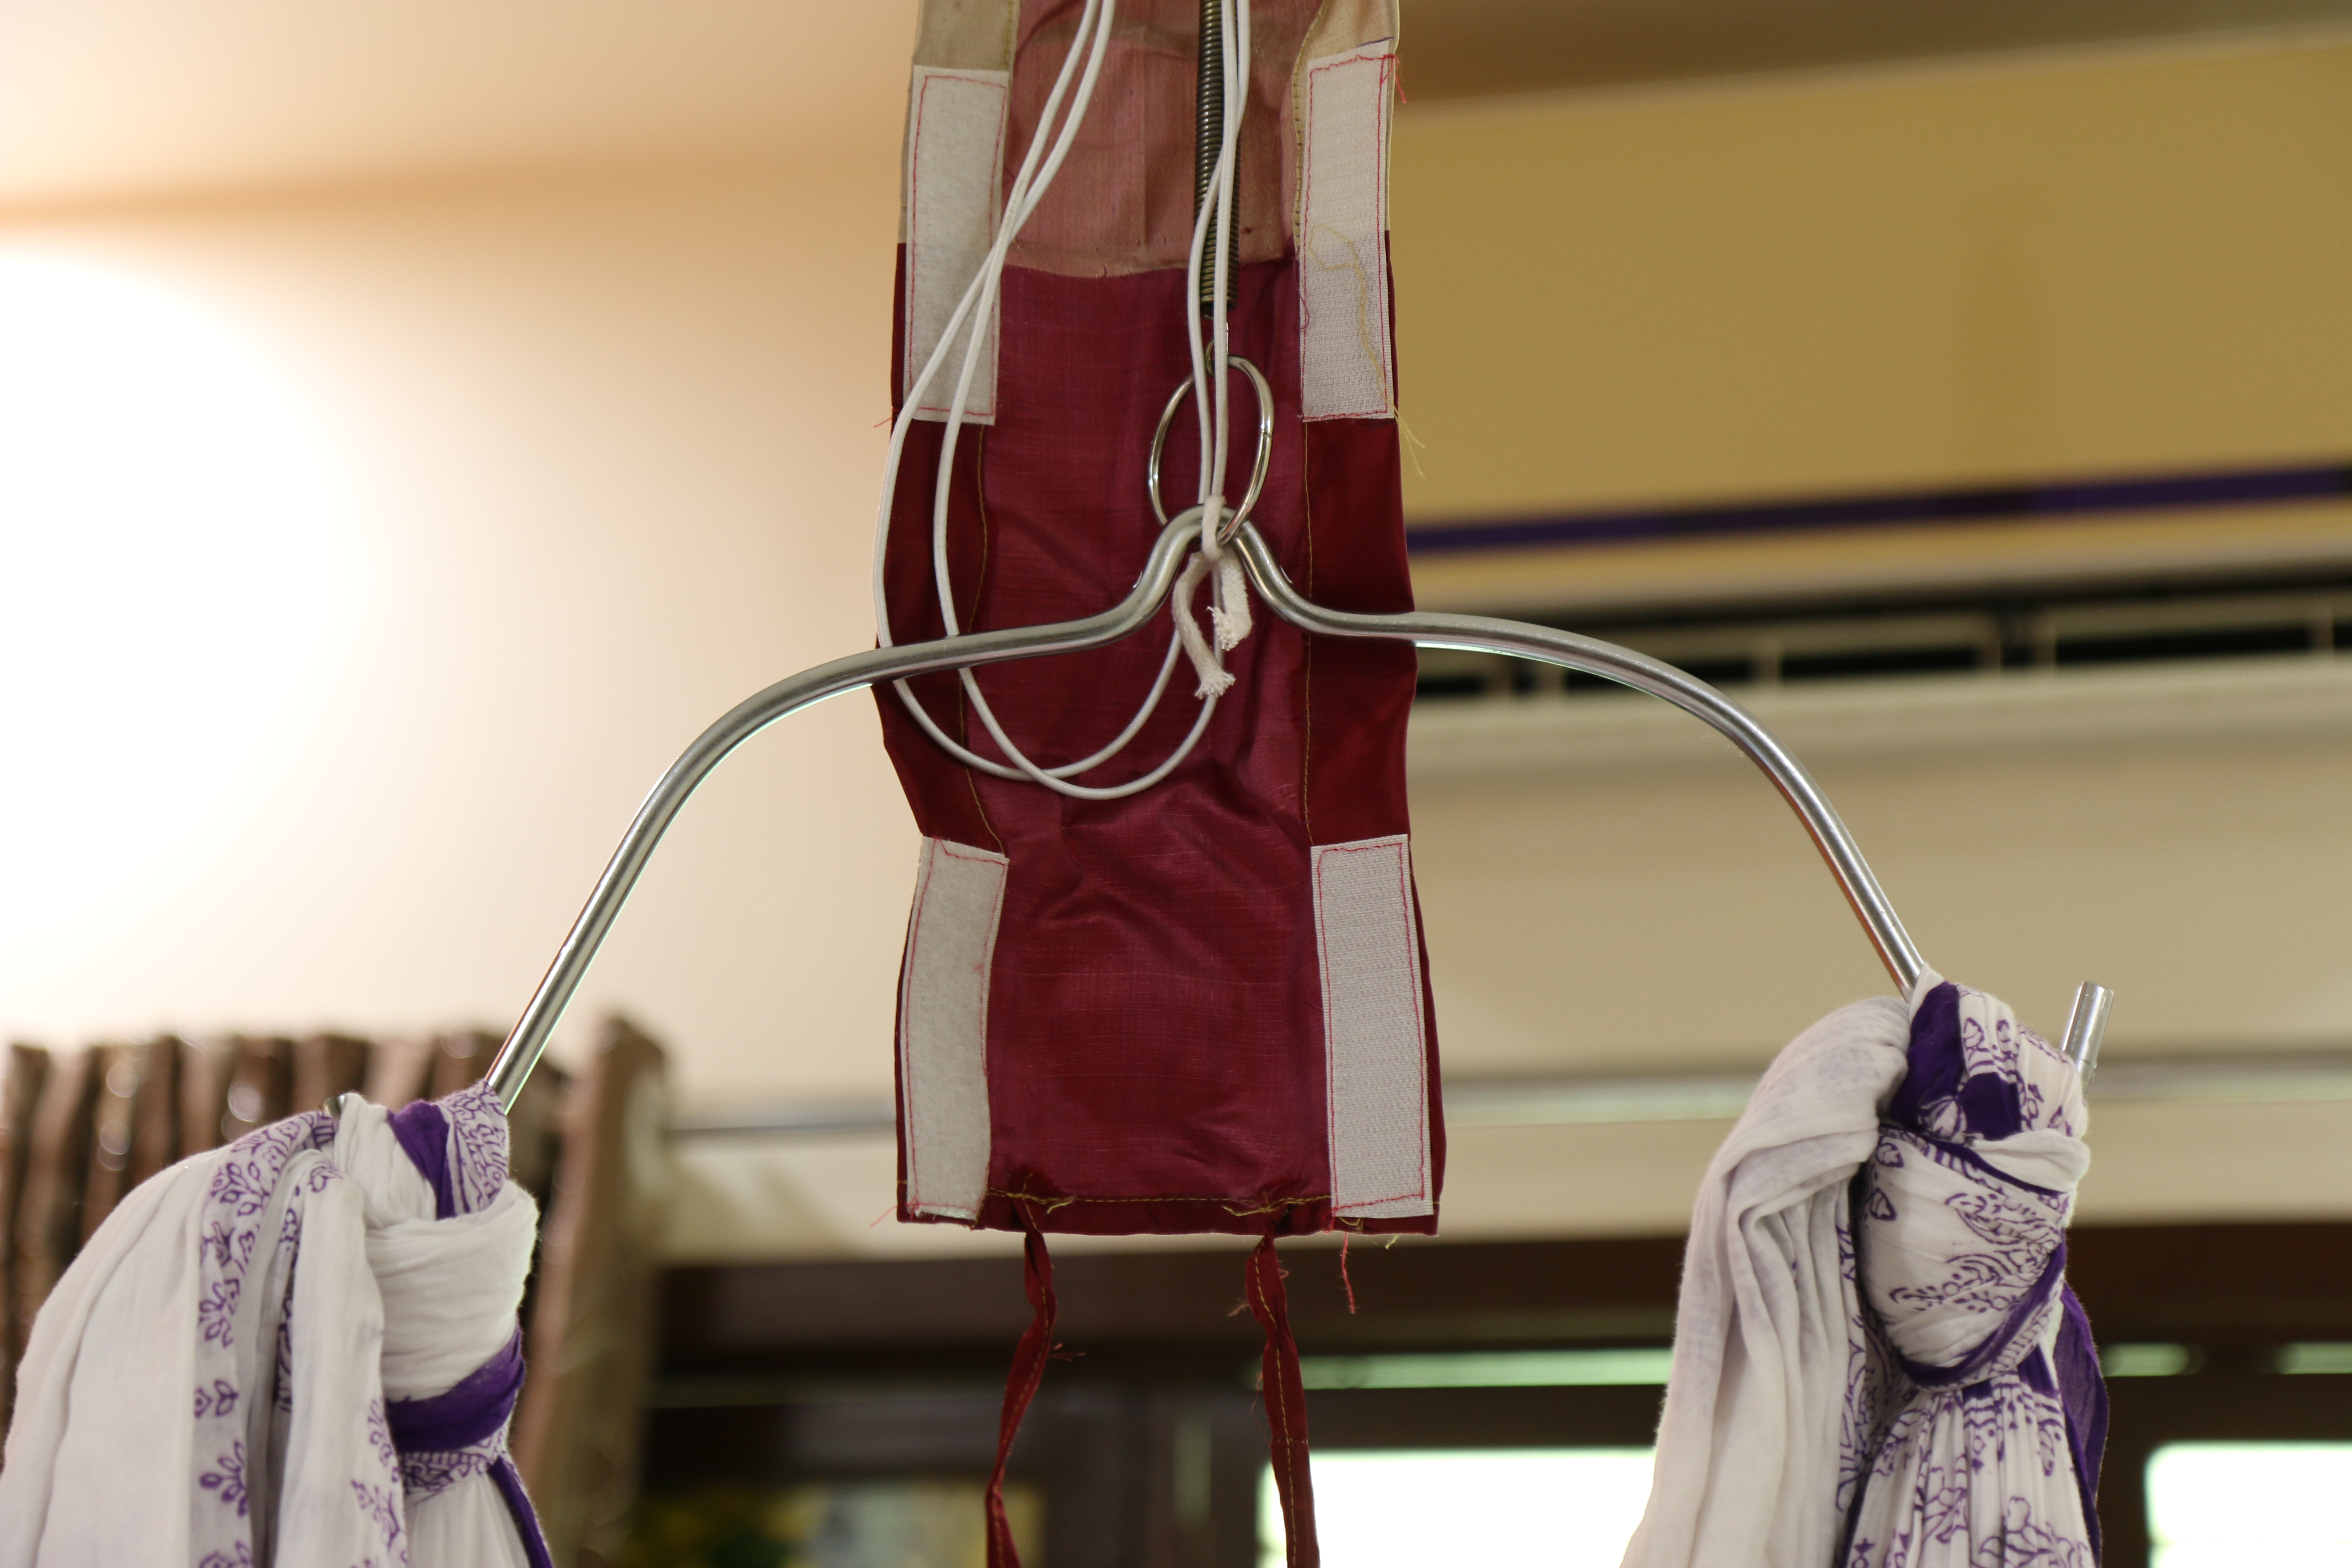
This is how it should look..
The hammock is ready for action!! 
But wait! Use atleast 10kgs to test the whole structure for 1-2 hours. Place the baby only after thorough testing.
The results seem good. My princess sleeping peacefully…
Look at her swing all by herself..