Category Archives: DIY

Do it yourself projects

Balsa craft

Sundays present a unique challenge. As a rule that I have set for myself, I spend the whole day with kids. But finding meaning and continuity weekend after weekend proved to be more difficult than I imagined. In the modern consumer world, where there is a “drop a pill” solution for every problem, it is easy to get lost. Often, I have seen parents putting their kids in so many classes that the kid is booked from morning 10am to evening 5pm with no time to experience and absorb life at leisure. Day dreaming is possible only when a kid is provided an opportunity to get bored. Finding out what one truly loves needs a doze of boredom as well. What one loves is essentially what one does not get bored of.

I was looking for a general class of activities that have reasonable structure with good scope for skill-building, but at that same time provide enough fodder for imagination. Most importantly, my kids should love it.

(This was when she was 2 year old. About 2 years ago)

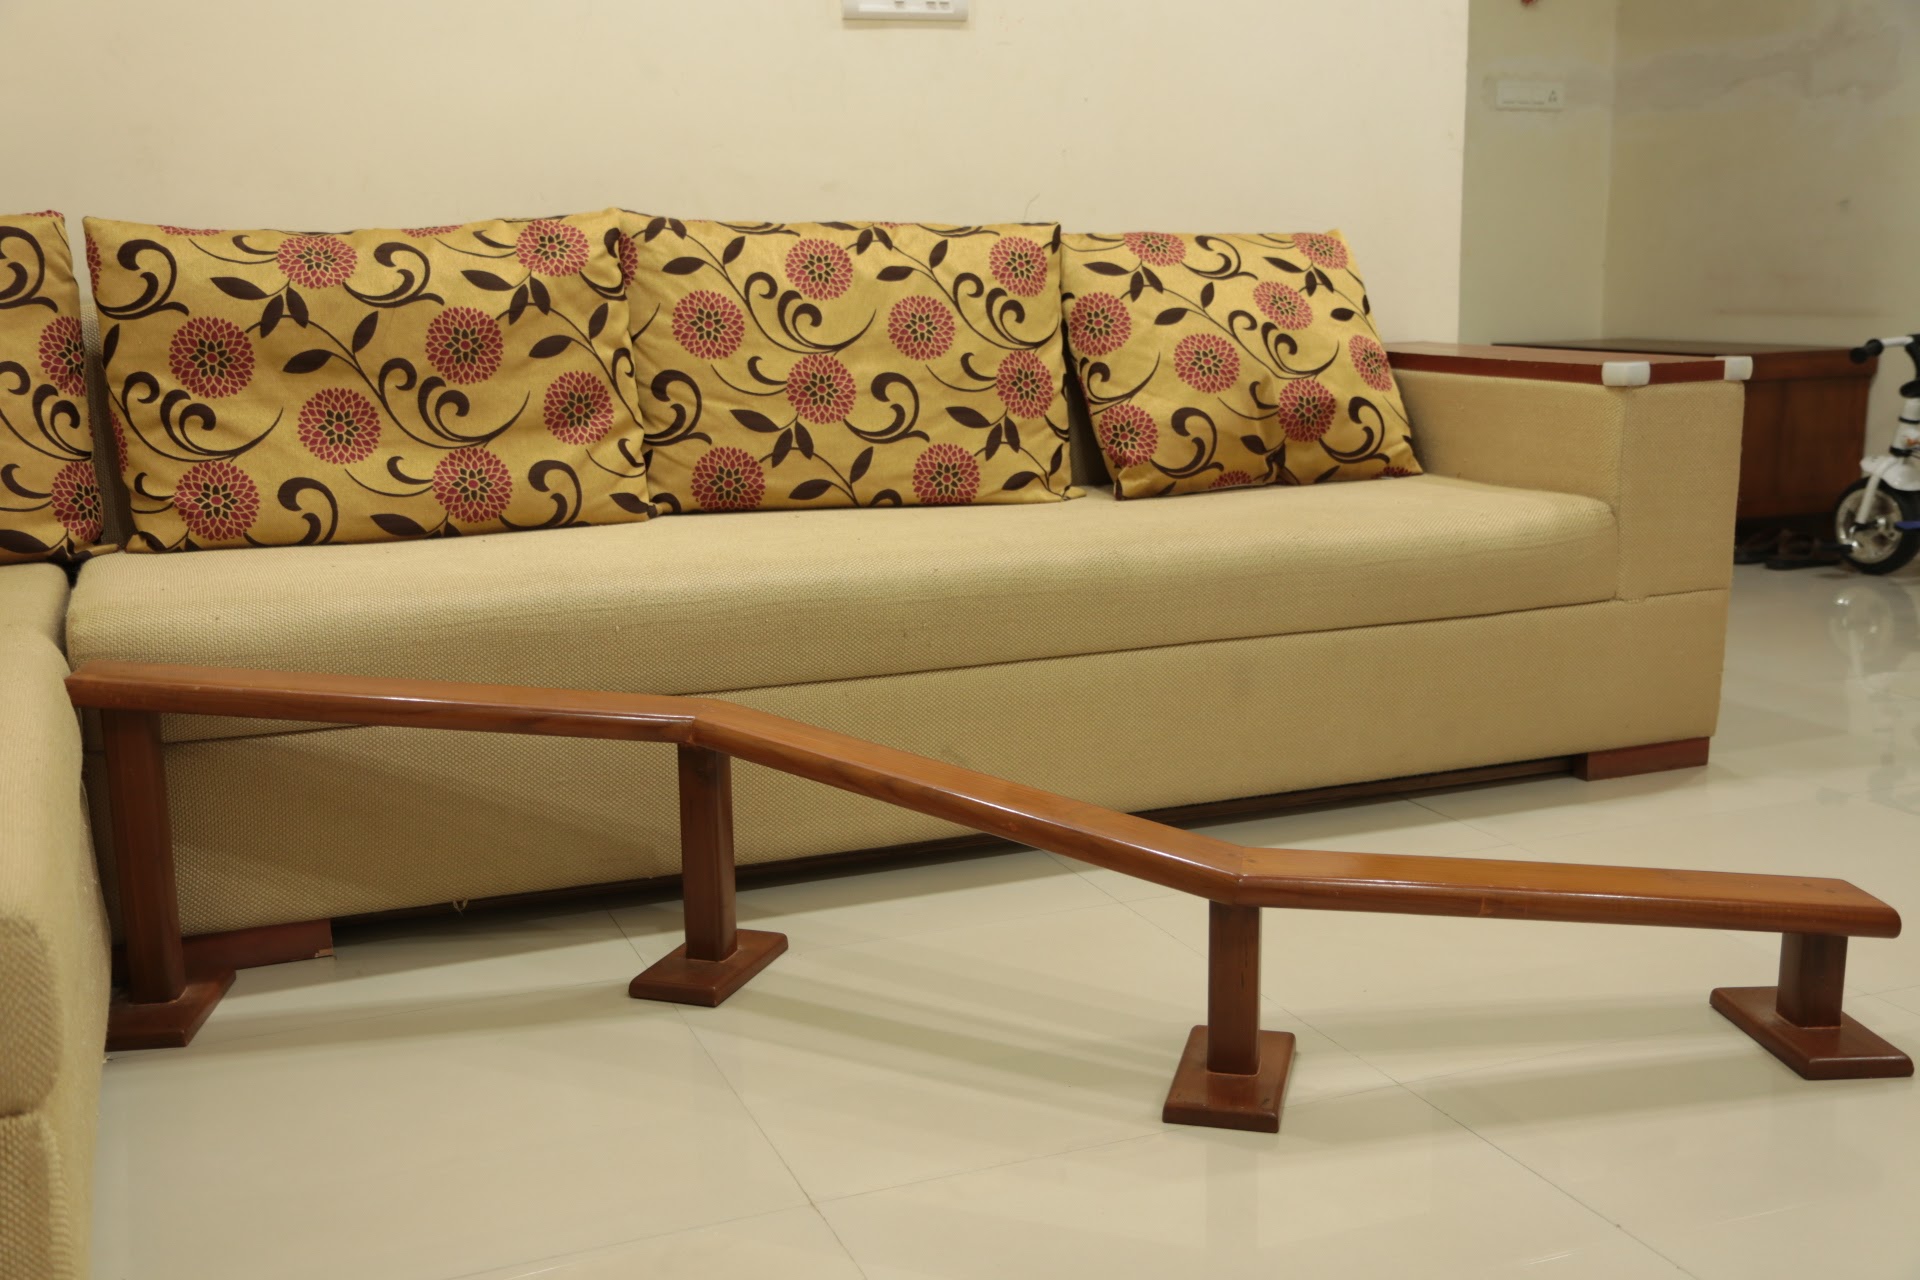
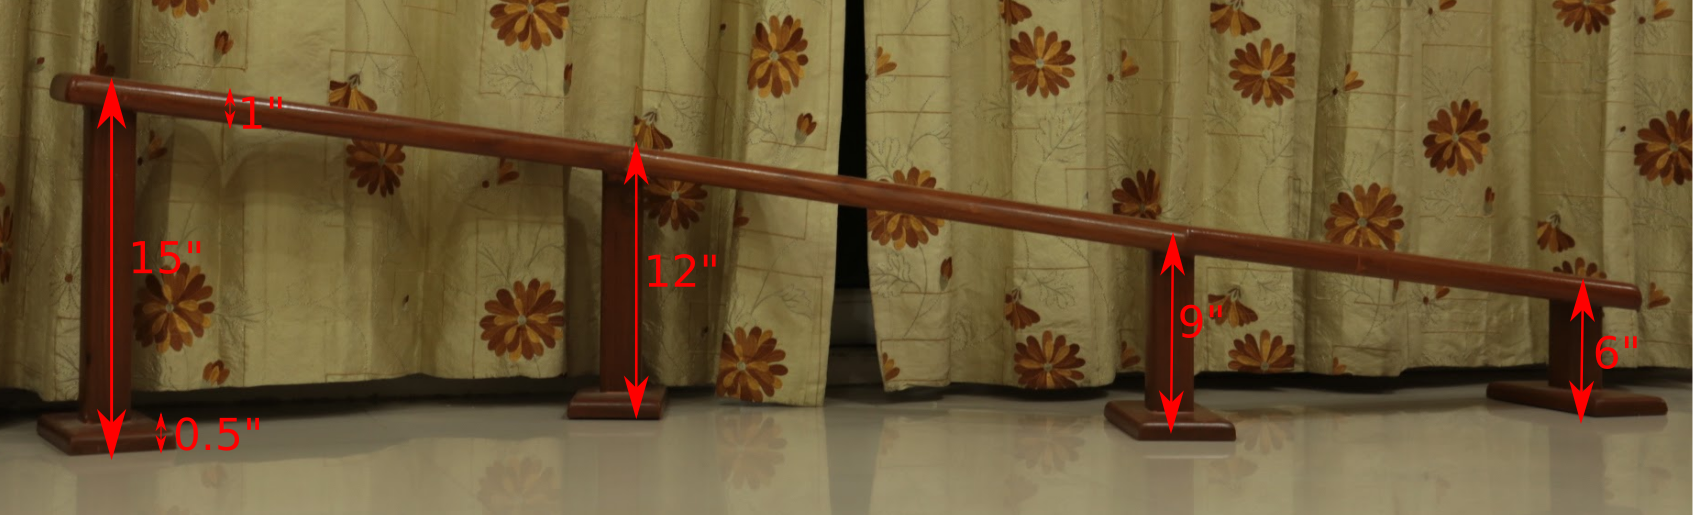
Looking at Anu hammering nails into a wooden block, I gathered that I may have have passed on my love for carpentry to her. But making carpentry easy for a 4 year old is hard! That is where Balsa comes in.

As a kid back in the school days, getting hands on Balsa in the aeronautics club used be such a privilege. Thanks to Amazon, I can get it in a variety of forms and get it right at my doorstep. To begin with, I have ordered sheets and sticks –

5mm sheets. Courtesy : Havoc Hobby
Sticks. Courtesy : Midwest Products

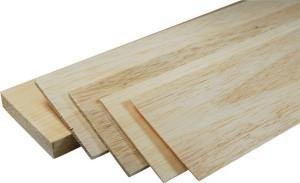
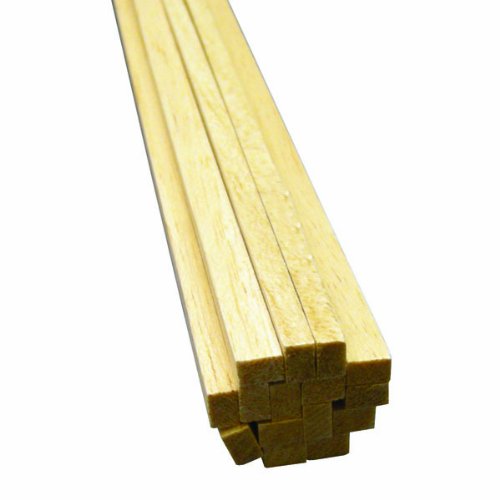
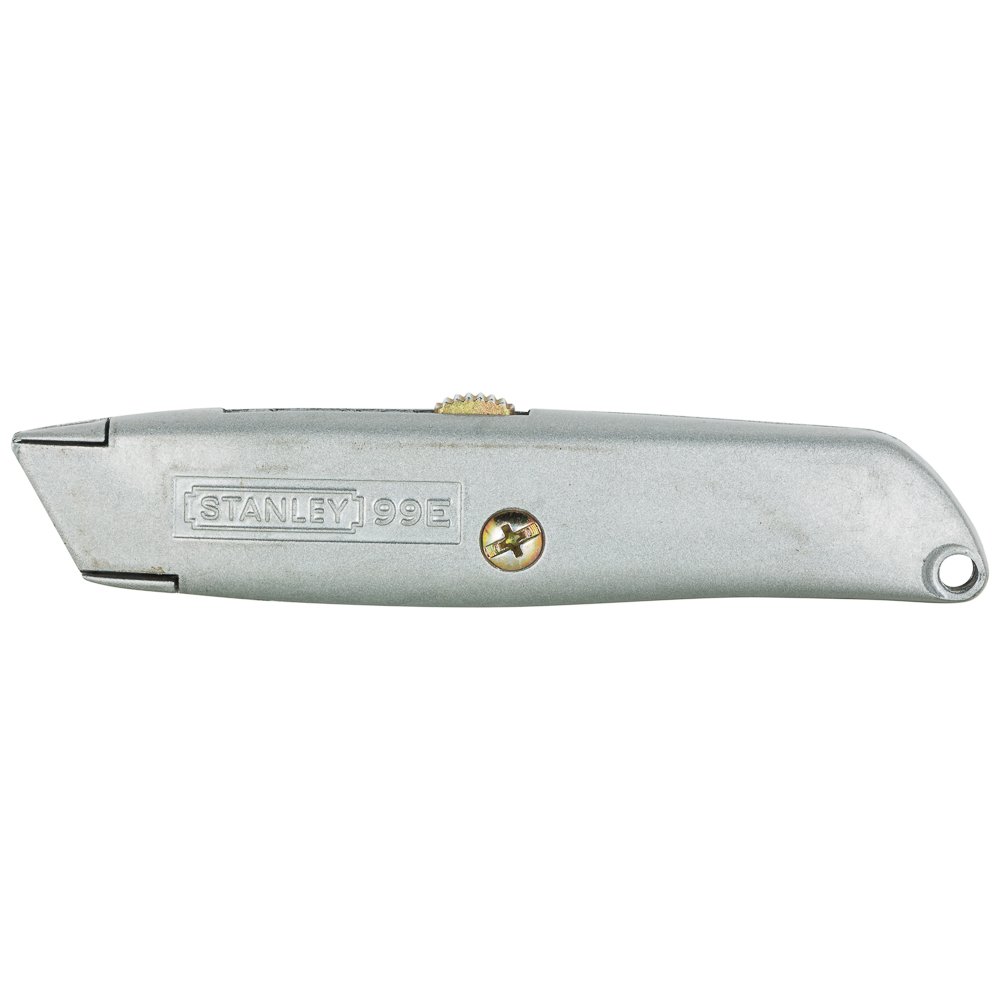
The sheets can be cut easily with a knife/box-cutter such as the one below. (Not to be handled by the kids). I normally involve Anushka in the planning, cut the sheet accordingly and give it to her. The sticks need no tool for cutting. So she can do it by herself. But one can use a good pair of scissors for more precision.

Box cutter. Courtesy : Stanley

A file (Bastard) is needed for plaining –

Bastard : Courtesy Stanley

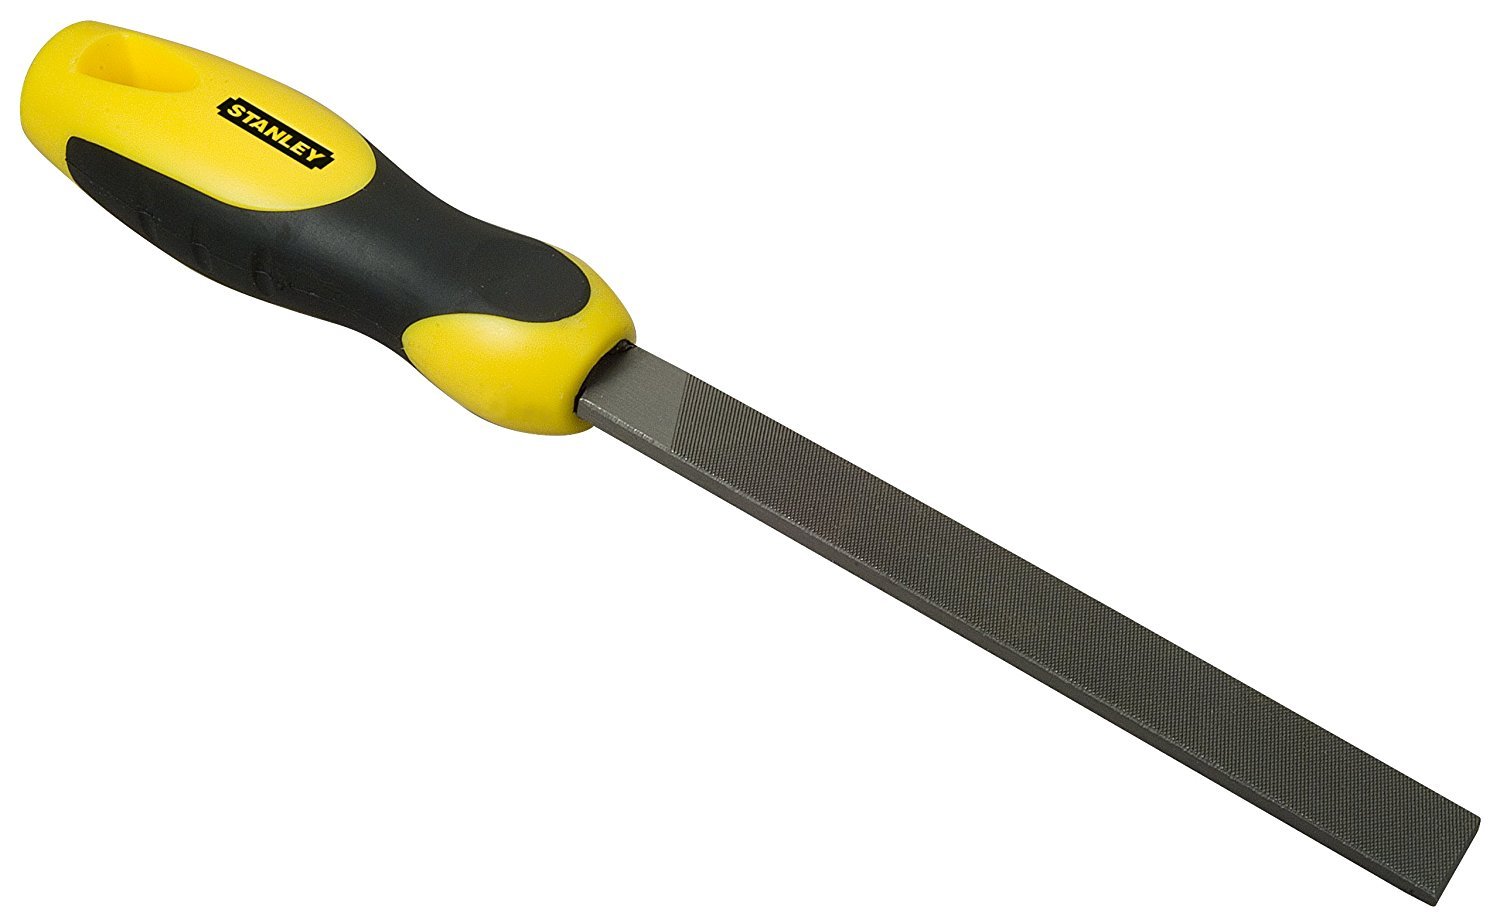
The below video explains why we need filing –

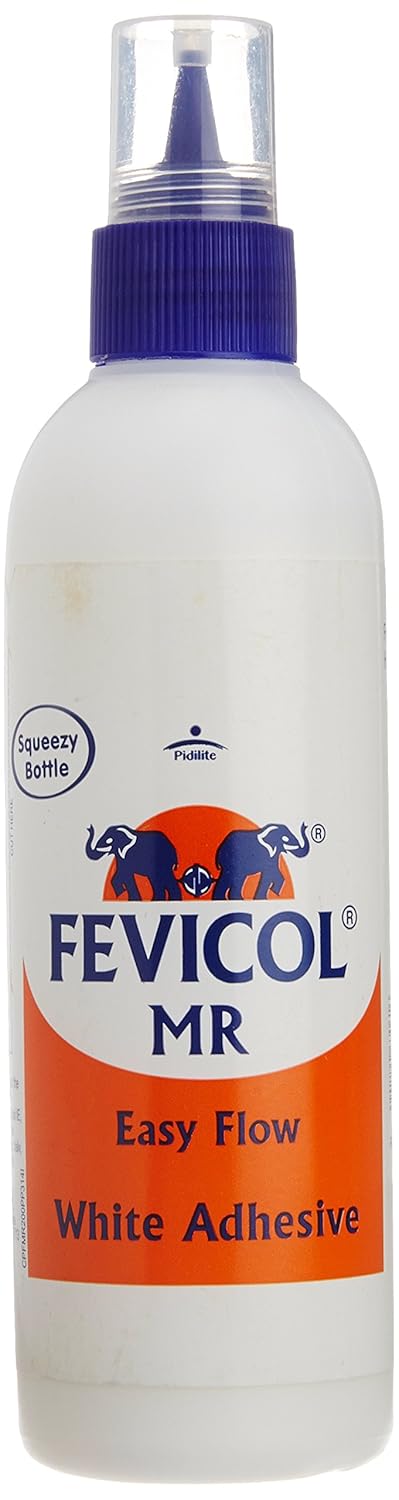
And lastly, we need glue (A non-toxic glue that can be easily cleaned, washed)

Easy flow glue. Courtesy : Pidilite

Hole drilling can be managed with a simple screw driver. No power tools needed.

I have to still help her with the holding and sticking part. But I leave the planning part to her imagination. As a good side-effect, I am getting my chance at being a kid again. Our work over the last few weekends –

Two weeks ago (I guess she is imaging a children’s play area)

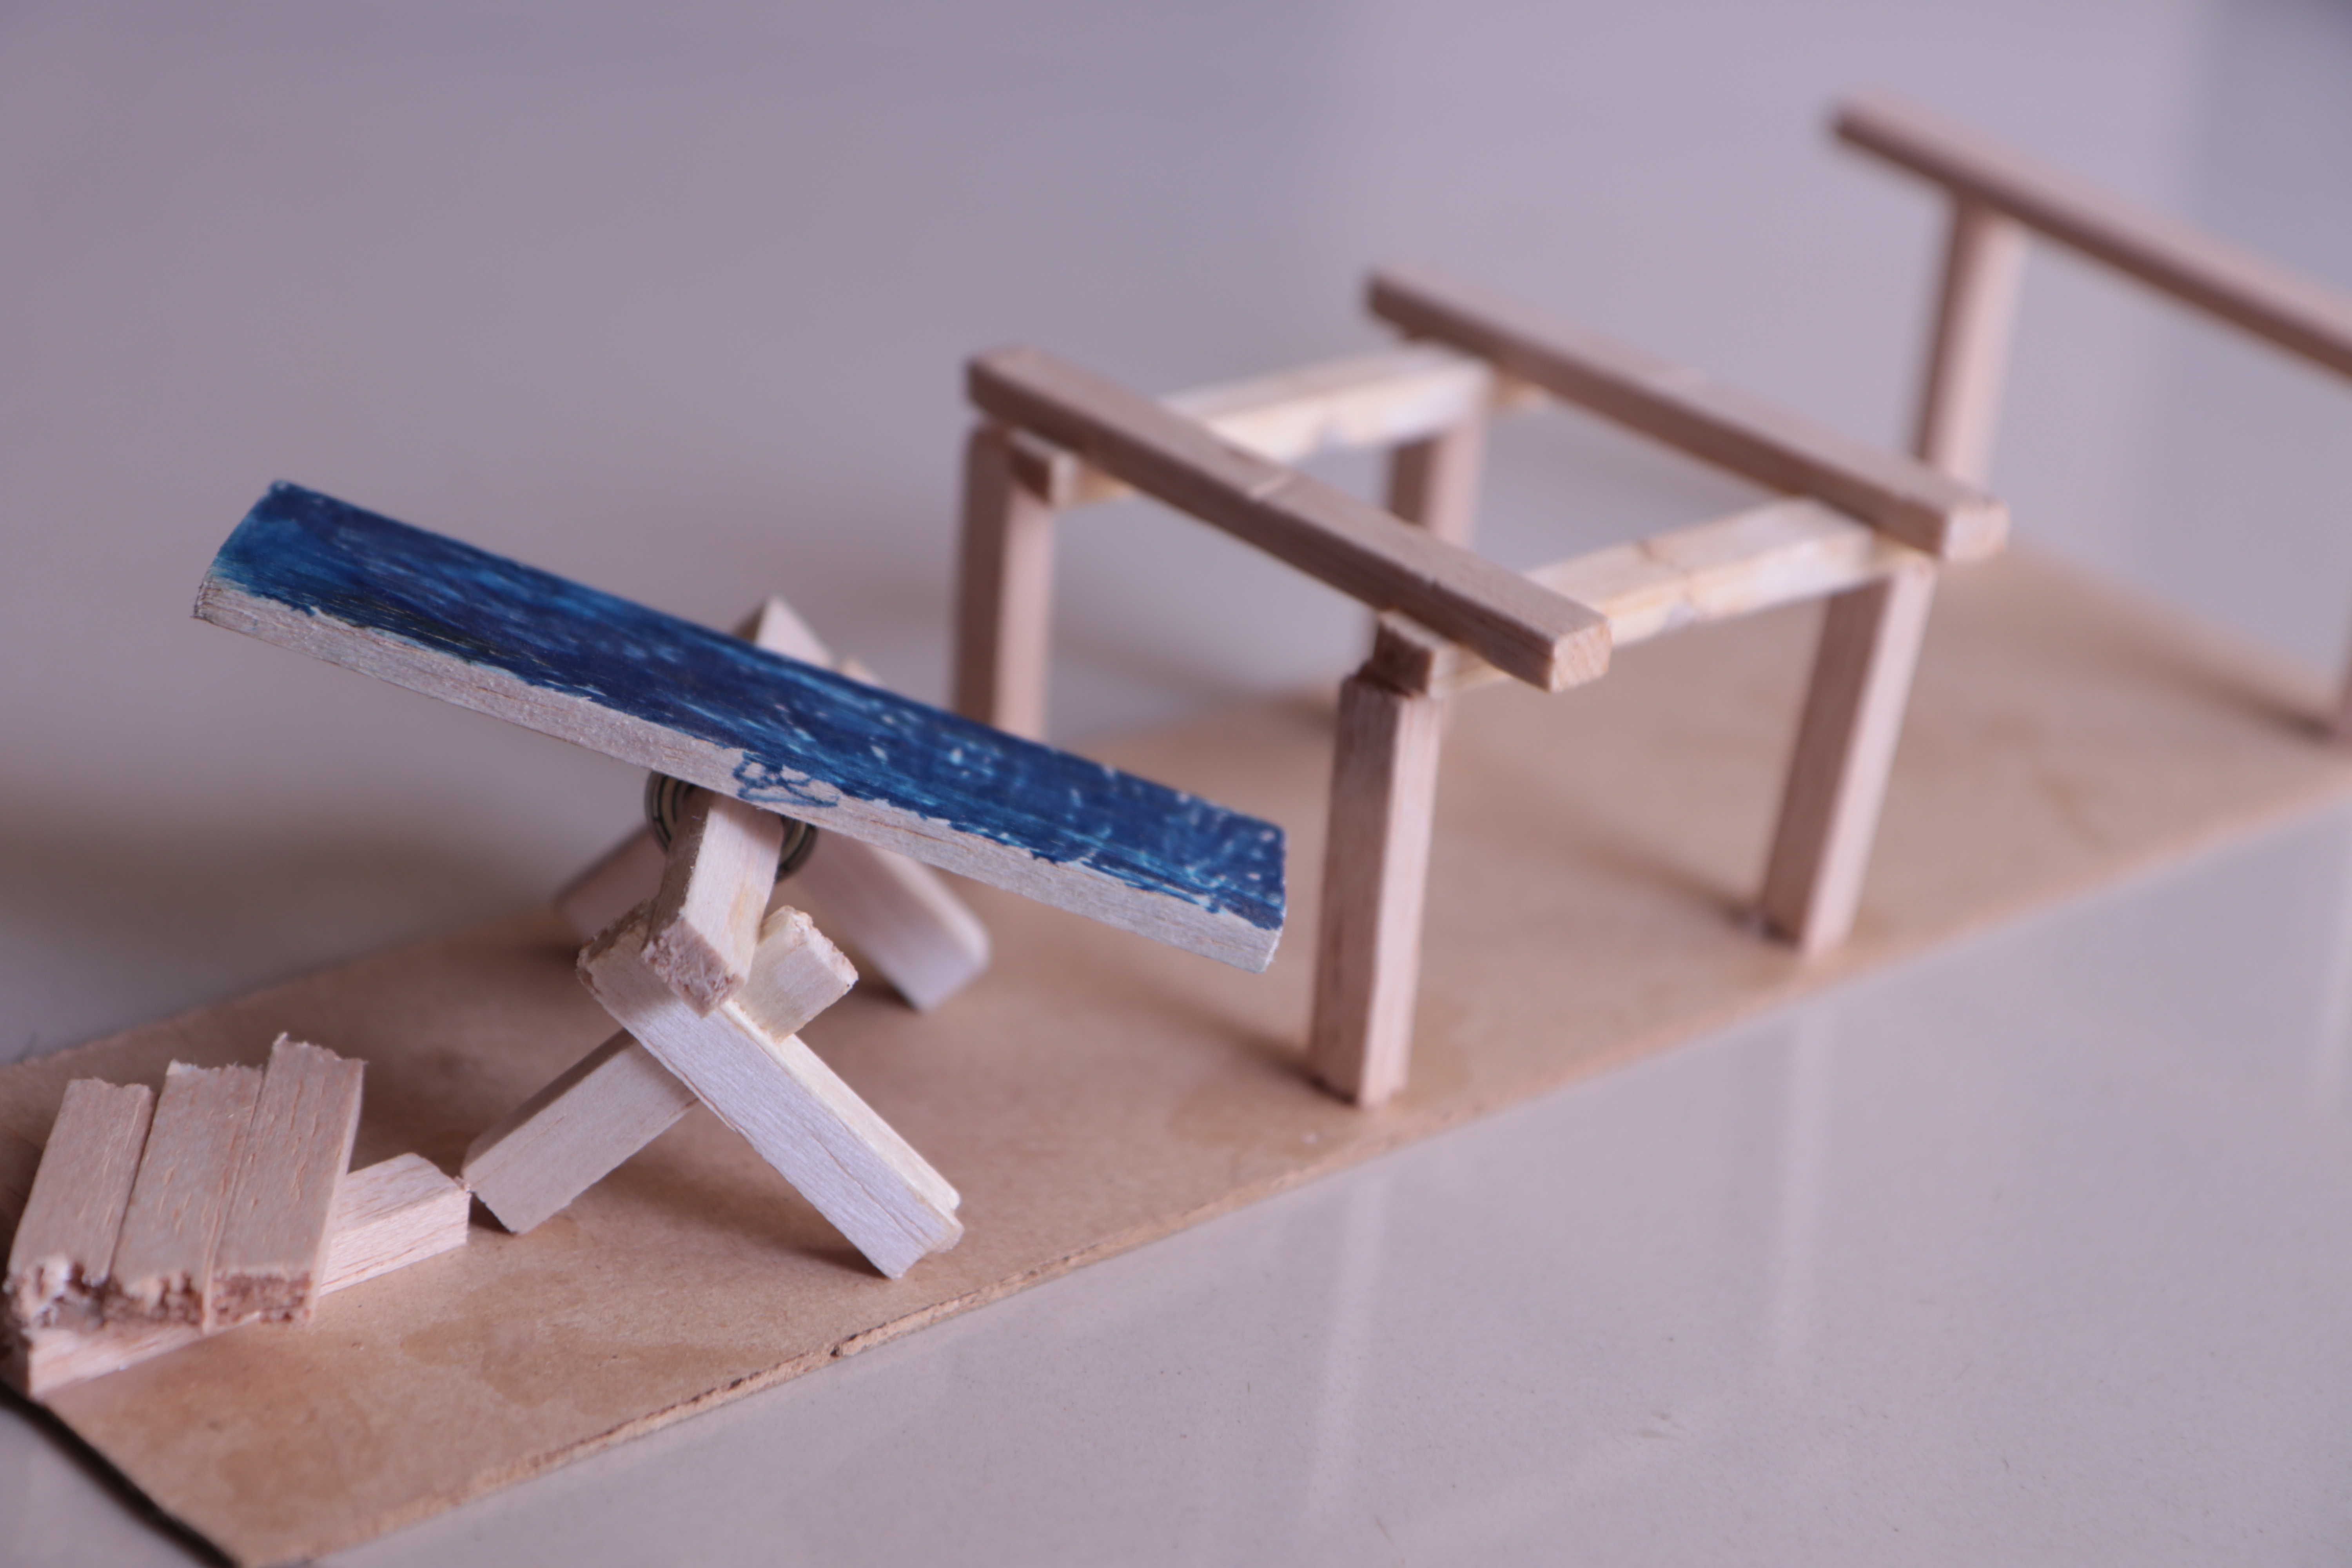
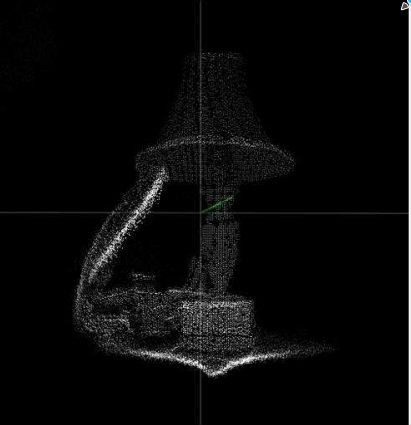
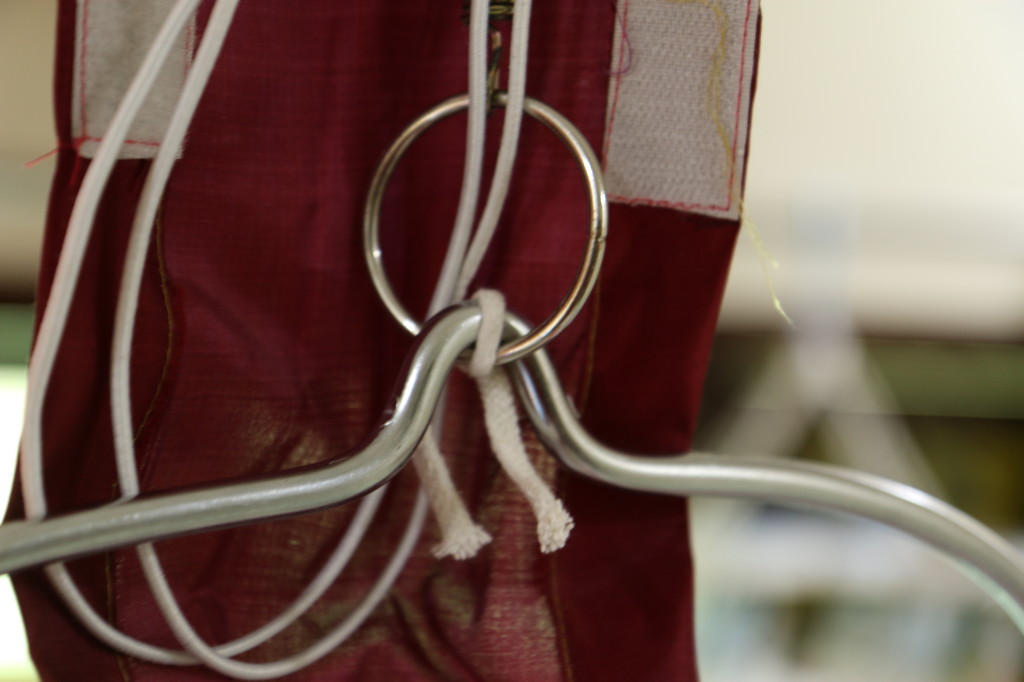
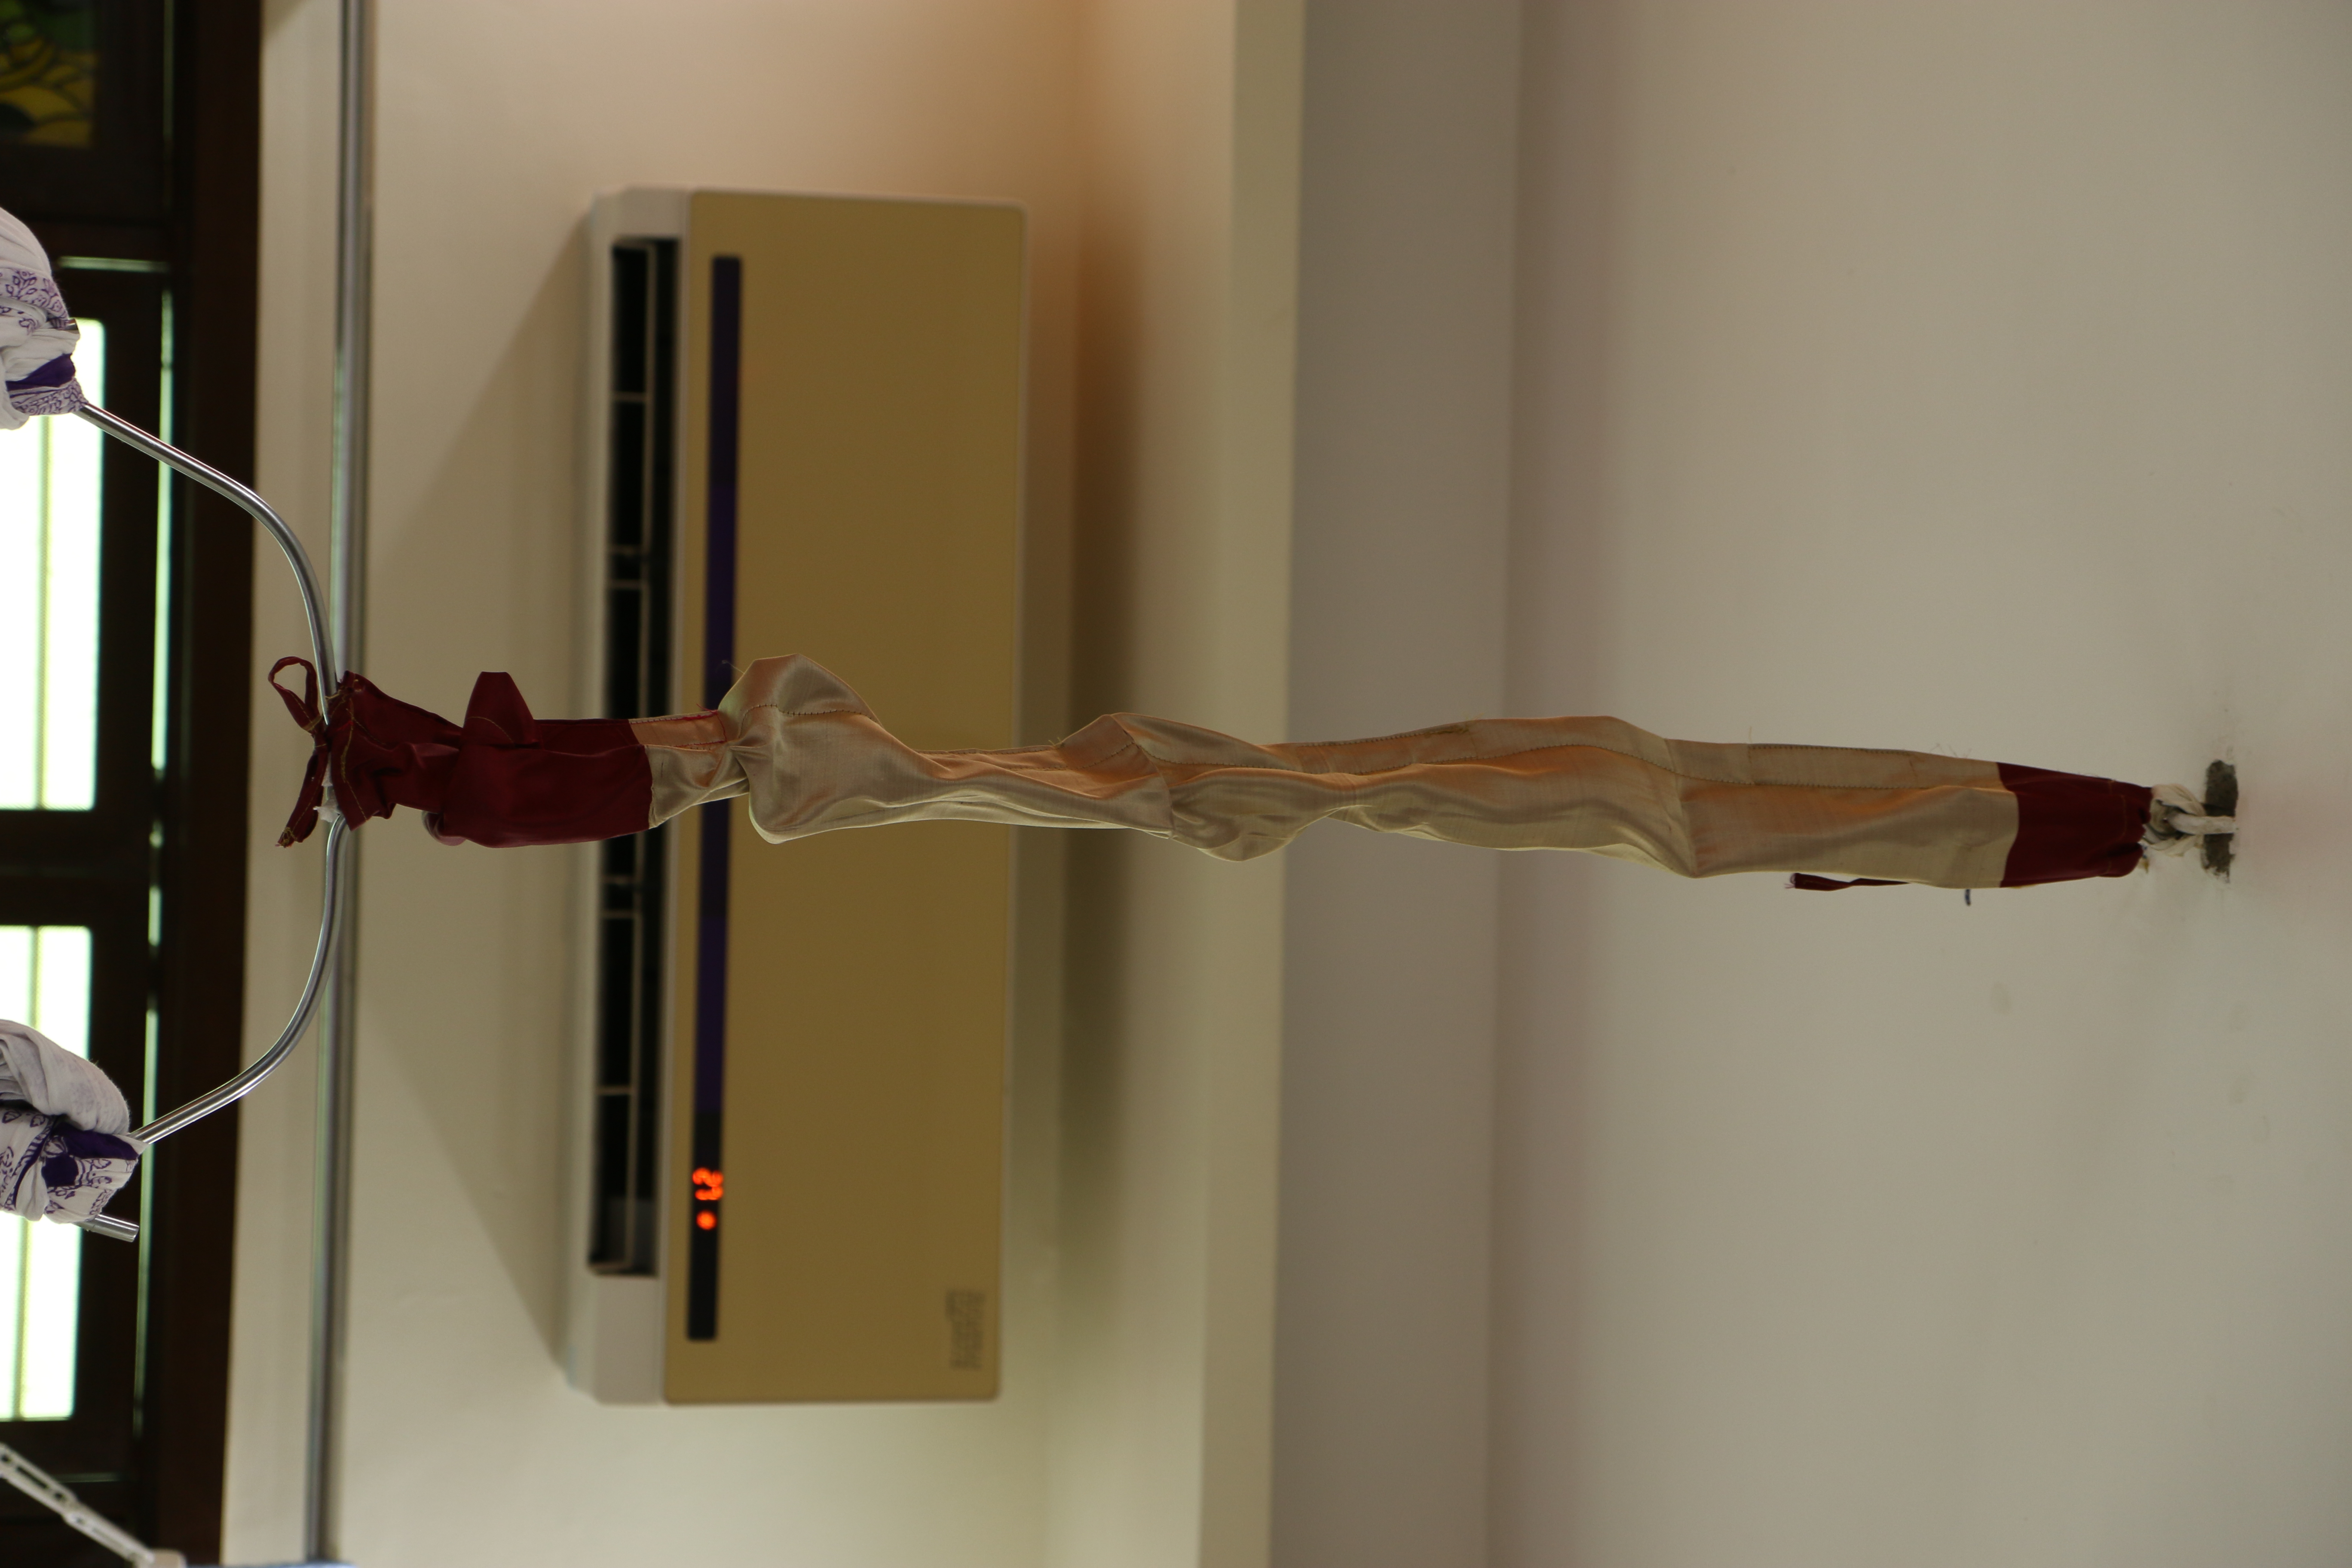
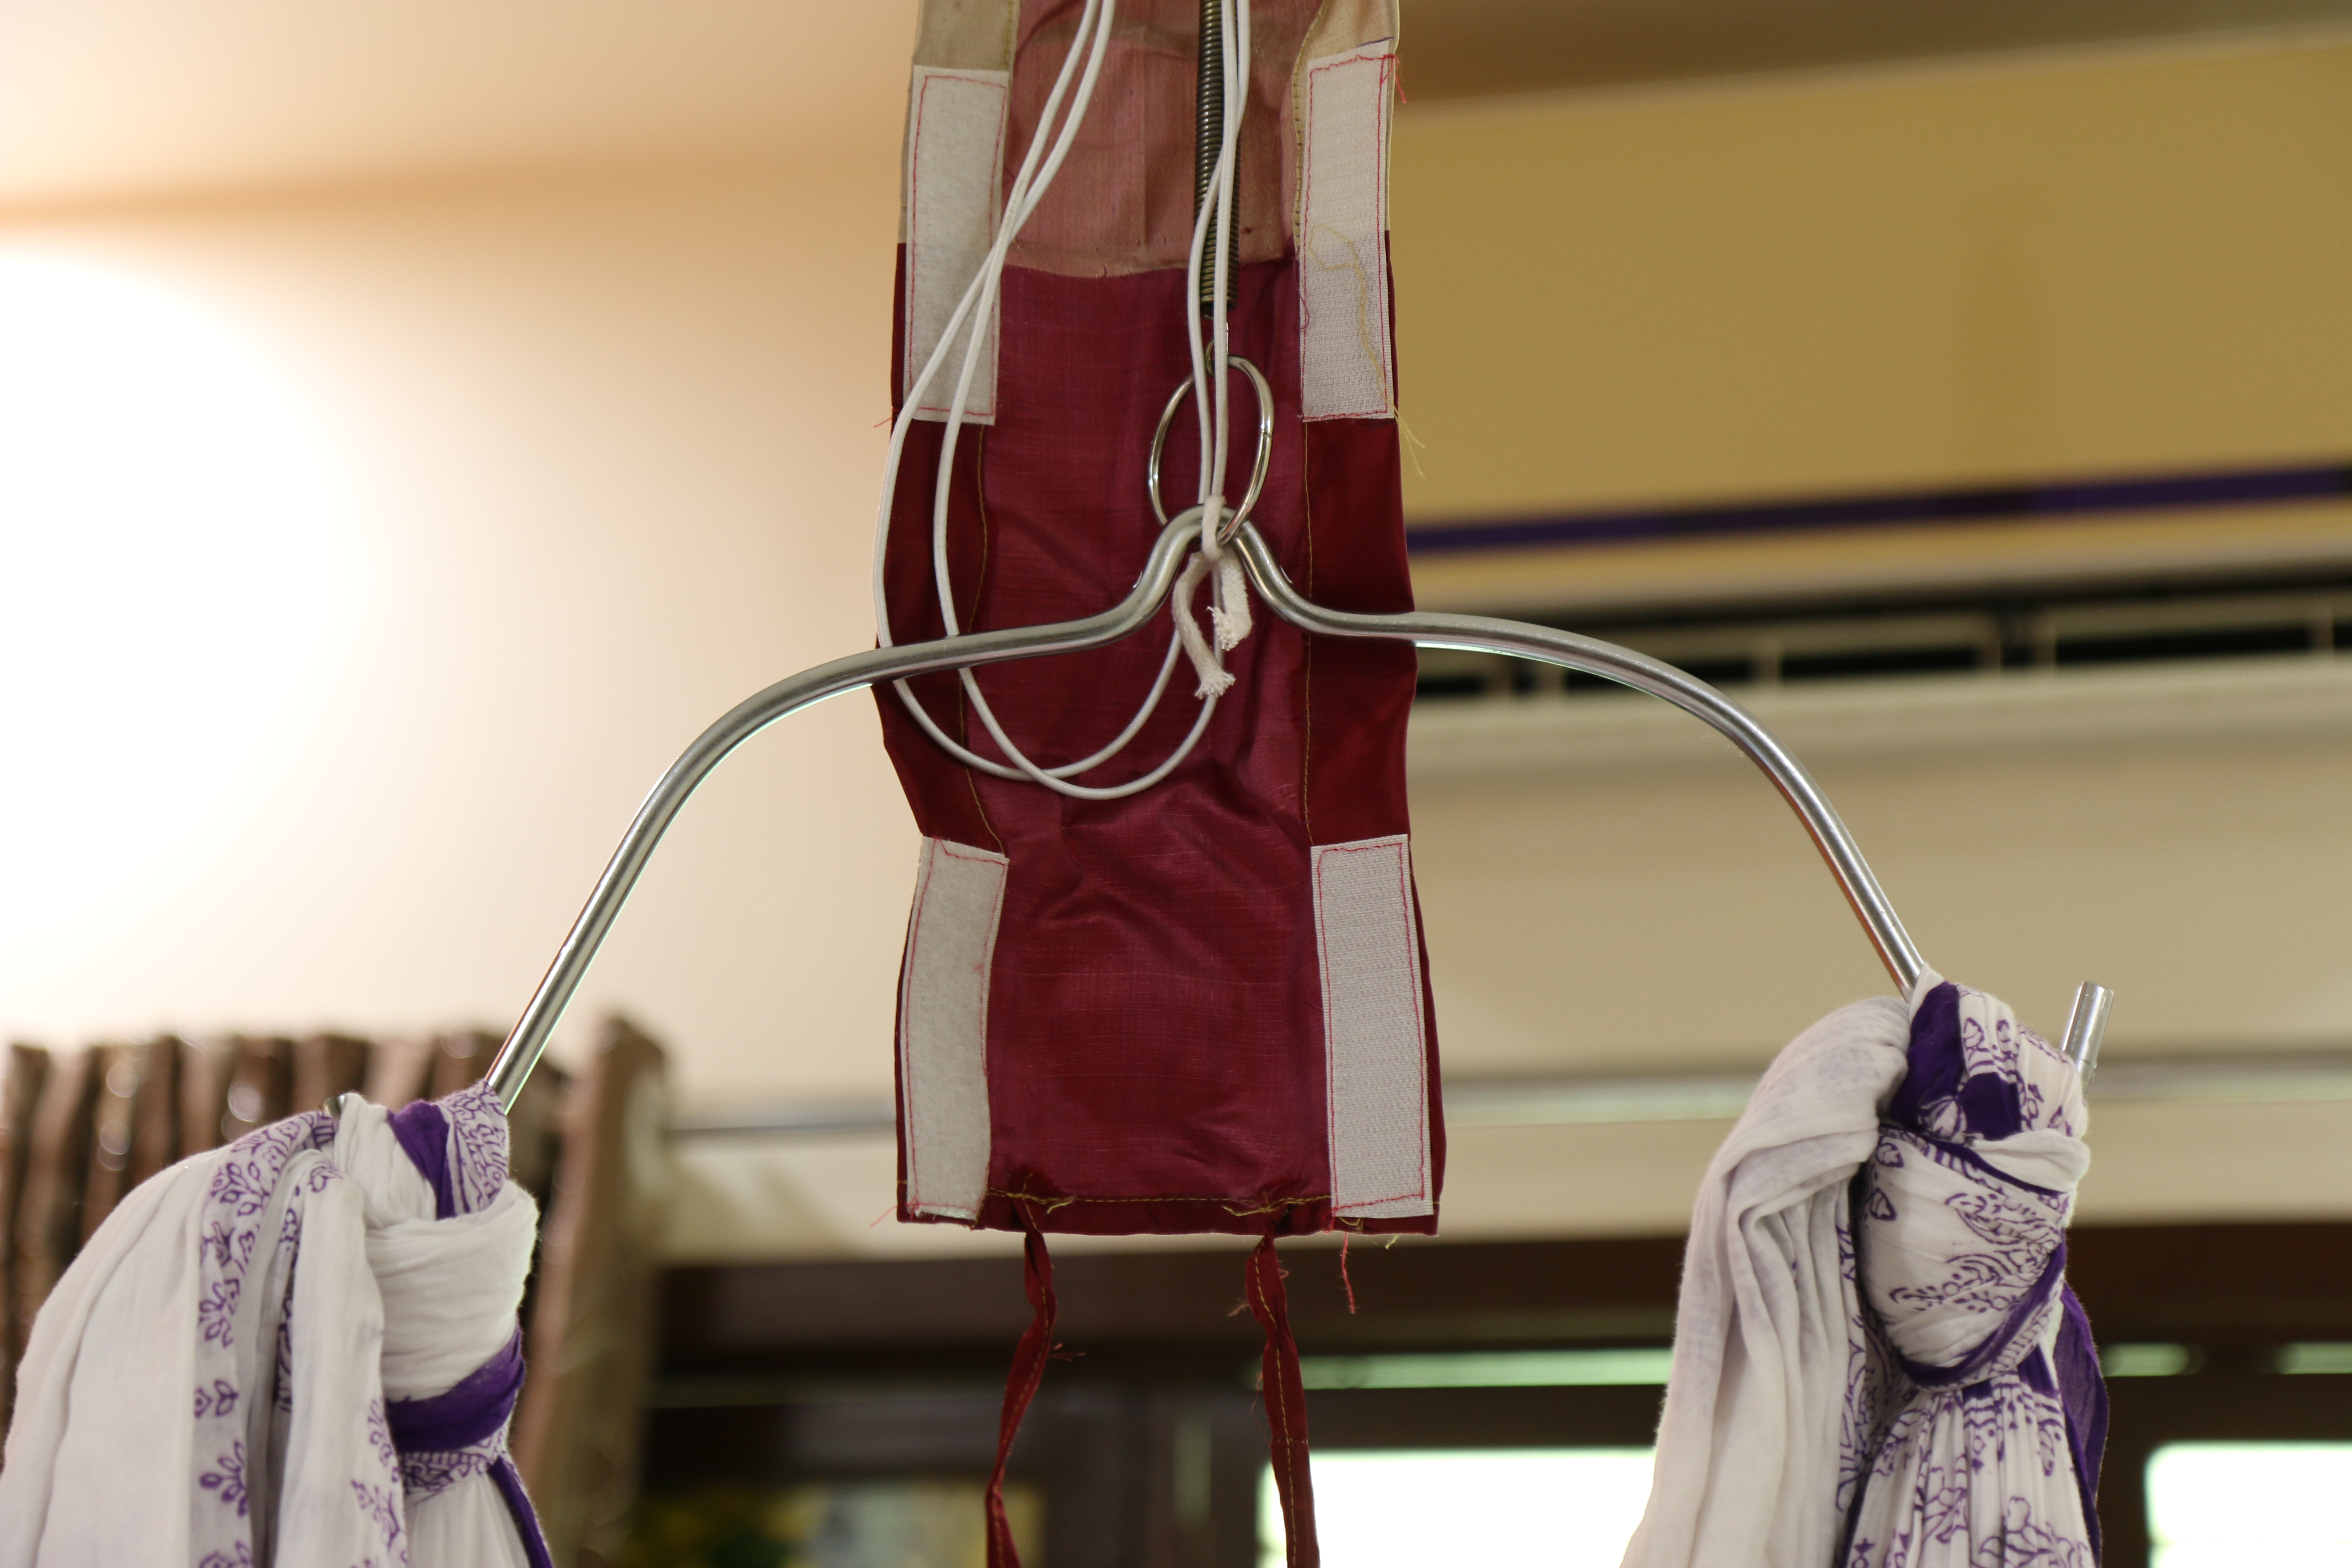
You can see all sorts of random sticking on the left corner, but she seems to have some kind of plan.

Status as of today. Turns out she wants to make a house with a grand entrance. For the flowers, she got some old broken hair clips.

Balsa is also very friendly to coloring. One can use water paint or sketch pens with good ease. Can’t wait to build more cool stuff. I am already building castles in the air… with Balsa.

The invisible harp!

It was bring your kid to office day at TI and my daughter’s bday was coming up soon as well.  I thought I should do something to spook a few kids with some magic. Given the choc-o-bloc schedule these days, I did not want to spend more time than 2-3 hours. Fortunately for me, my team at TI makes a secret ingredient for lots of magic – A 3D sensor.

I started with a OPT8241-CDK (Camera Development Kit). The kit provides a point cloud of 320 x 240 points. Point cloud is nothing but a collection of X, Y, Z and I (intensity) for each pixel in the camera. For example, this is what the point cloud of a lamp looks like –

Point cloud of a Lamp. Courtesy : TI VoxelViewer user guide

After some thought, I decided to make a simple invisible musical instrument that even toddlers can appreciate (my daughter just turned 3). The 3D camera was to face up so that kids can move their hands over the camera to generate musical sounds. The distance of the hand from the camera would fix the amplitude and the lateral position of the hand would fix the note.

The code simply identifies the nearest blob in the scene and it’s 3D position. The ‘Z’ co-ordinate is used for the amplitude, The ‘X’ co-ordinate is digitized and used for the selecting the note. Since I decided to do everything in python, the midi-synthesis was just another line of import statement. All in all, as planned, I was able to complete the code under 2 hours. But the midi library was interesting and I ended up spending another 2 hours just playing with the various instruments available. Seriously, fluidsynth library is fun. The python code is hosted here.  If you have an OPT8241-CDK with you and Voxel-SDK up on linux, all you need to do is run the python code.

The results (At my daughter’s school) :

Color Jump

If you ever find yourself wondering what to do next with your high energy toddler, this game could come in handy. All it needs is 3-4 colored crayons and 4′ x 2′ of space.

Draw some colored circles on the floor (Squares work too). Be sure to keep it symmetric on at the least one axis to keep it simple. Toddlers can imagine mirroring more easily than rotation.

Example Circles
Example Circles

Stand in any of the circles and make your kid stand in the opposite one of the same color. You are all set! The rest is best explained through this video –

It is easy to add more complications. Adding more circles is one way of doing it. One can add different shapes too. Encourage your toddler to memorize the color-position association so that he/she need not look before taking a jump. The memorization helps to train spatial memory.

Balance beam

My daughter is nearly 3 years old now. When she was about 2yrs old, I noticed something very interesting. She had been barely walking for 15 months and now here she was, trying to balance herself on a narrow divider that divides the garden and the walking area. The divider was just as wide as her feet and about one foot tall (one foot is a lot when your whole height is ~85cm). She did not progress much before she called out for my help, but the courage that she demonstrated in just going ahead and trying it out put me into thought. I had to do something to let her be more adventurous, yet safe. Incidentally, Radhika (my better-half) had found a great carpenter. I quickly designed something that was inspired by the ramp walk obstacle in the obstacle coarse we had at school (It’s another of those Sainik School things that non-Ajeets may need more explanation on. Don’t bother). The carpenter quickly got on with his job, and in less than a week from conceptualisation we got this –

20170128185546_IMG_2023

The experiment proved very successful. Within a week, Anu could go end to end –

She fell innumerable number of times before getting to this stage, but thanks to some cheering, she kept trying. Once she mastered walking, as expected she started challenging herself; Running, turning around, jumping in place, jumping forward and a lot more. More importantly, the beam provided her a platform to fail over and over again, overcome her fear and succeed. For those who are interested in replicating the setup, the material used is Indian teak and here are the dimensions –

Beam Elevation
Beam – Elevation
Beam - Perspective
Beam – Perspective

Take care to round all corners. The one that we made is sturdy enough to support an 80Kg adult. Do test thoroughly before letting your kid try it.


Music 101 : The Practical Challenges

The total number of notes to decode are quite small in number. All in all, there are just 12 notes and their octaves. Since the octaves sound similar, registering just 12 notes should be enough to decode all the music in the world. Compare this to some of the other things we remember –

  • Thousand of faces
  • Before the mobiles came around, hundreds of telephone numbers
  • Thousands of dialogues in movies
  • Characters in a language script, words and their meanings
  • Innumerable axioms, theorems, formulas

If we just look at the number of notes, compared to all of the above examples, learning music should be pretty straight forward! But, in practice, it seems much harder. Why???

Our ears are not perfect spectrum analyzers. They were not meant to be. Music is something that humans invented (please don’t quote examples of singing dolphins and whales, when I say music, I mean really complicated music). Nature made our ears capable of distinguishing various calls, voices etc. to help us survive. Having fun was probably a by-product of evaluation that came much later in time and much lower in priority. While identifying a frequency, our ears get confused very easily due to some other aspect of the sound being different. Listed below are some of these aspects (The list by no means is exhaustive) –

  • Volume of the sound
  • Sequence of notes played before (Like hysteresis in electronics)
  • The time the sound is played for (Like hold time in electronics)
  • The instruments (The timbre. This does not play much of a role in discerning the relative pitch within the same instrument. But plays a role when one has to listen to one instrument and recognize a another note played in some other instrument)

Volume of the sound

Try to identify if the notes are going up or down in frequency when I play the notes in the below clip.

The answers are –

  1. Going up
  2. Going down
  3. Going up
  4. Going down

If you got it right, you have one problem less to bother about.

 Sequence of notes played before

Listen to the clip  I play below and identify if the last note in sequence 1 is higher or lower in frequency than the last note played in sequence 2.

The answer might surprise most people. The two ending notes in both the sequences are actually the same!

Timing

Listen to the clip below. The two sequences have the same notes in the same order, but a novice may not recognize this similarity at all.

Instruments

Error due to change in instrument is one of the less serious problems and most of you may pass the below test. Take a listen –

I have again played two sequences with exactly the same arrangement of notes. But the second sequence has a note of flute in it. Do they seem similar in frequency to you? If they do, you are doing good!

In the next class, we will deal with only two notes C and G and try to register them correctly irrespective volume, sequence and timing.

Make your own Baby Hammock

I became a father on 22-Apr-2014. As per the prevailing superstitions in India, one is not supposed to shop for a cradle till the baby is born (Nobody mentioned anything about making one 🙂 ). I made part of the hammock ready before the d-day. Got rest of the act together in a couple more days. My princess loves it. Cumulative effort including this documentation was about 6hrs (The 6hrs don’t come easy as babies keep everyone busy all the time)

First find a suitable place. Make sure the hook is strong enough and well supported. Hang S-links from the hook so that regular links can be then added.IMG_3892

Secure the S-links. IMG_3903

Add as many links as necessary to get the right length.  If necessary, add a ring at the end of the links to connect to the springs.IMG_3893

Add springs. Choice of the springs is the most important part of the hammock.  The effective spring constant has to be such that the assembly stretches neither too less nor too much. A good rule of thumb – A stretch of 15 cm with about 5 kgs of load gives decent results (Natural frequency of about 2Hz with a 3Kg newborn which will drop down to about 1.4Hz in 4 months  when the baby will be about twice the birth weight).  Pune being an auto-hub, made my life easy. I got these automobile springs within 10 minutes of search.IMG_3895

Make sure the springs are secured properly.IMG_3896

You may want to add one more ring at the end  to connect to the hammock hanger.IMG_3897

Since it concerns babies, it is better to put in some safety measures. The springs are the weakest link in the design. To be prepared for contingency, additional flex cables can be used to connect the top and bottom ring. The flex cable length should be such that there is no tension in the cable under normal circumstances, but when the springs fail, the cables should hold. IMG_4287

IMG_4289

Find some hanger like component to hold the hammock. I found this nice hanger shaped steel rod. Use some thread to secure the hanger to the ring.IMG_4290

IMG_4293

Use a nice cloth to cover up the not so nice looking mechanics. It is important to uncover the cloth and inspect the whole system atleast once in a week.IMG_4294

Tie the hammock securely. I used an old Saree. Old, used cotton Sarees are specially soft.IMG_4291

This is how it should look..IMG_4295

The hammock is ready for action!!  IMG_4296

But wait! Use atleast 10kgs to test the whole structure for 1-2 hours. Place the baby only after thorough testing.

The results seem good. My princess sleeping peacefully…IMG_4303


Look at her swing all by herself..


Music 101 : Why am I writing this series?

By usual standards, I started learning music quite late. I was already 20 when I first started toying around with a keyboard and a flute. Like me, I guess there are a lot of ppl who start out late either because the environment they were brought up in did not offer such avenues or simply because there were other priorities earlier in life.

Learning music does get harder with age. First of all, neural connections are more hardwired in an adult brain. Secondly, it is widely believed that unused connections are broken and the neurons are repurposed for other tasks.

With the limited time available for pursuing this hobby, I have experimented for 9 yrs now. I would have spent an average of 1-2hrs per week.I usually dont like to train under someone as I believe that the training will prejudice me. Also, ppl tend to teach adults in the same manner as kids. That hardly works.

After all these years, I have realized that if I had discovered the right techniques, I could have learnt as much in less than 1 year with the same effort. Unfortunately, I could not find such material online. Most sites start of with some instrument. Learn piano.. learn the flute… they teach you all the musical notations and so on…. But true music is hardly about the instrument or the notations. Its is about the ears and the brain.

Through this series, I am hoping that someone else will benefit. I am not trying to teach directly, as that would mean that I will end up prejudicing some one else. I am just trying to elucidate some techniques of learning. The actual learning is a process of self discovery that one has to walk on his/her own. Each person has his/her own style of learning and should stick to it for best results.